Your Aftercare Guide
The treatment is my job. What happens next is yours. What you do in the first 1–14 days makes a bigger difference to your result than most people realise.
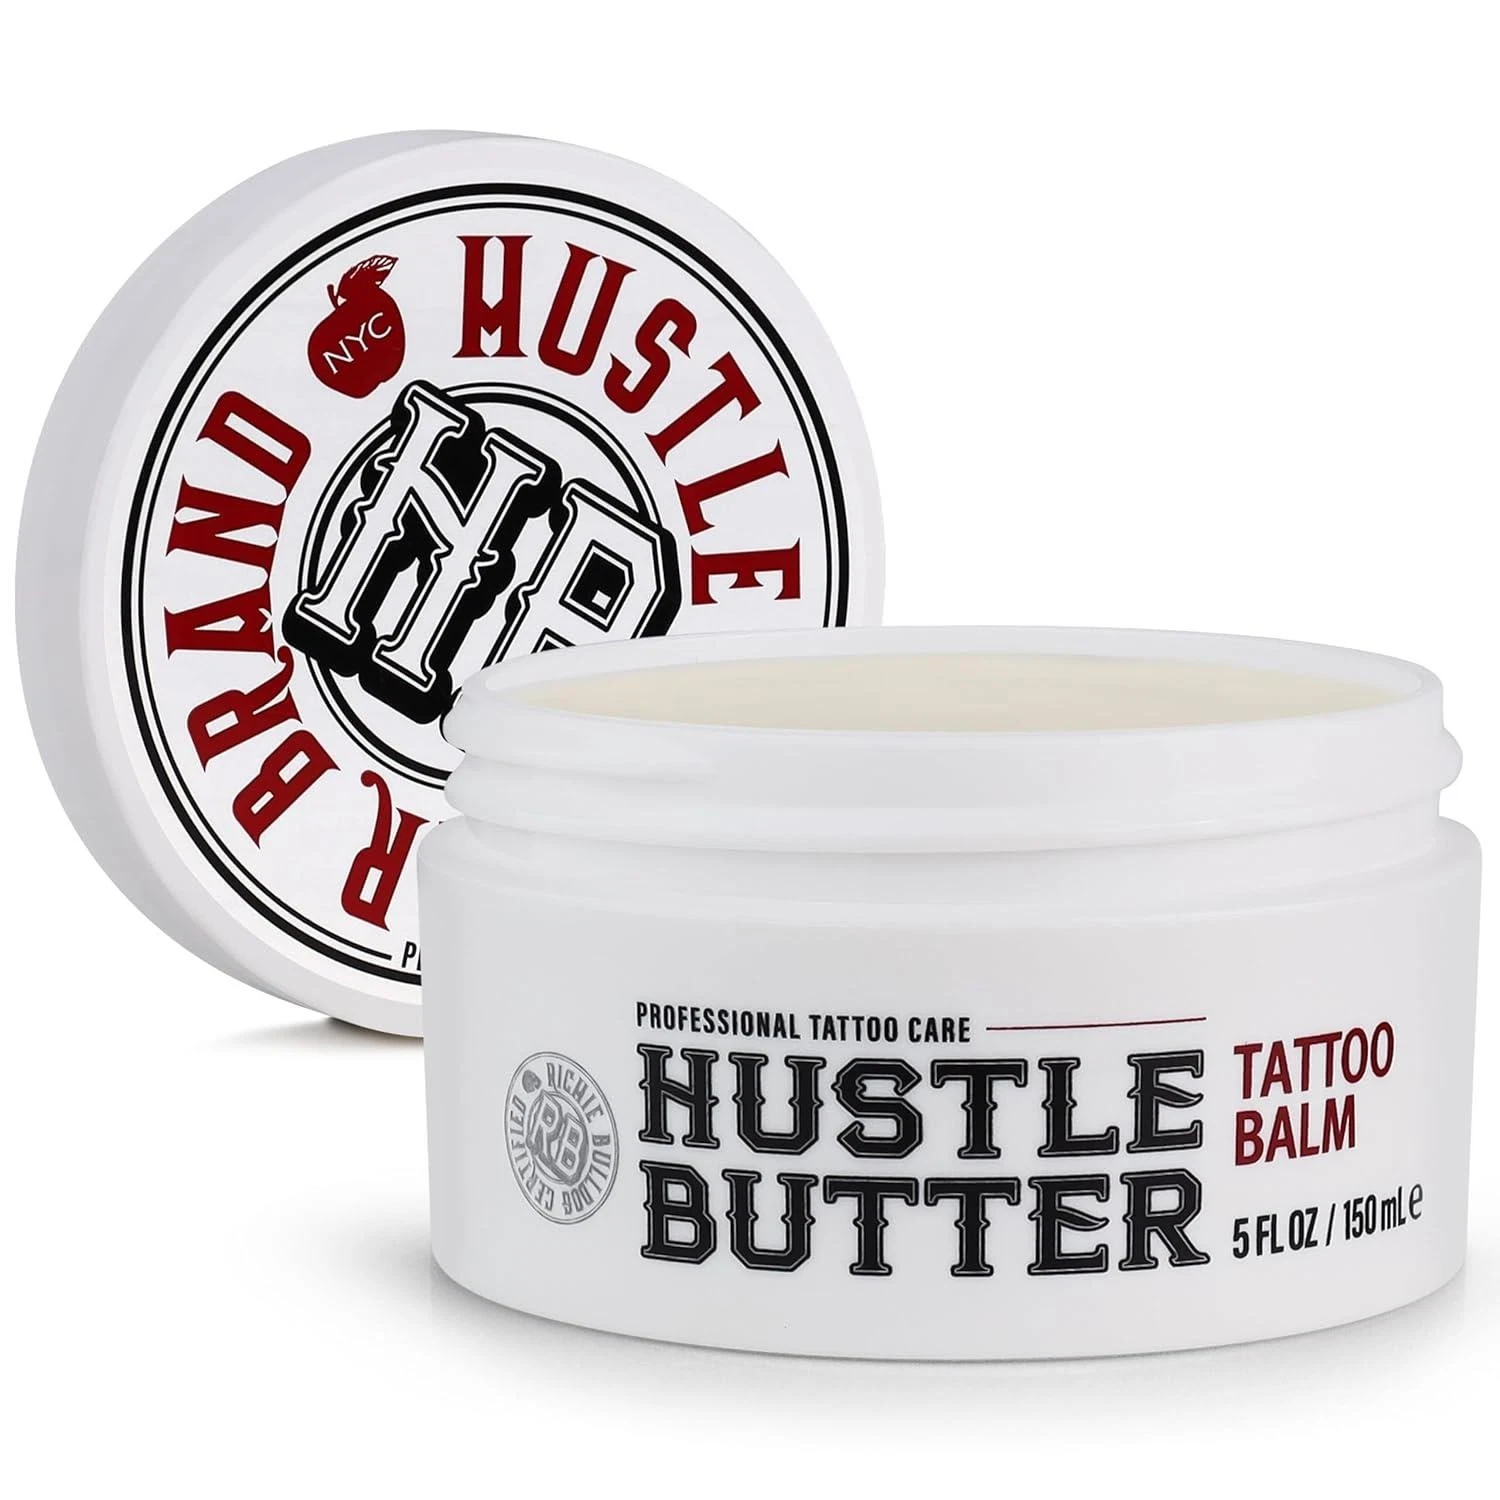
Your aftercare balm and full instructions are provided at your appointment. This guide is your reference to come back to.
The treatment is my job. The aftercare is yours — and it makes all the difference.
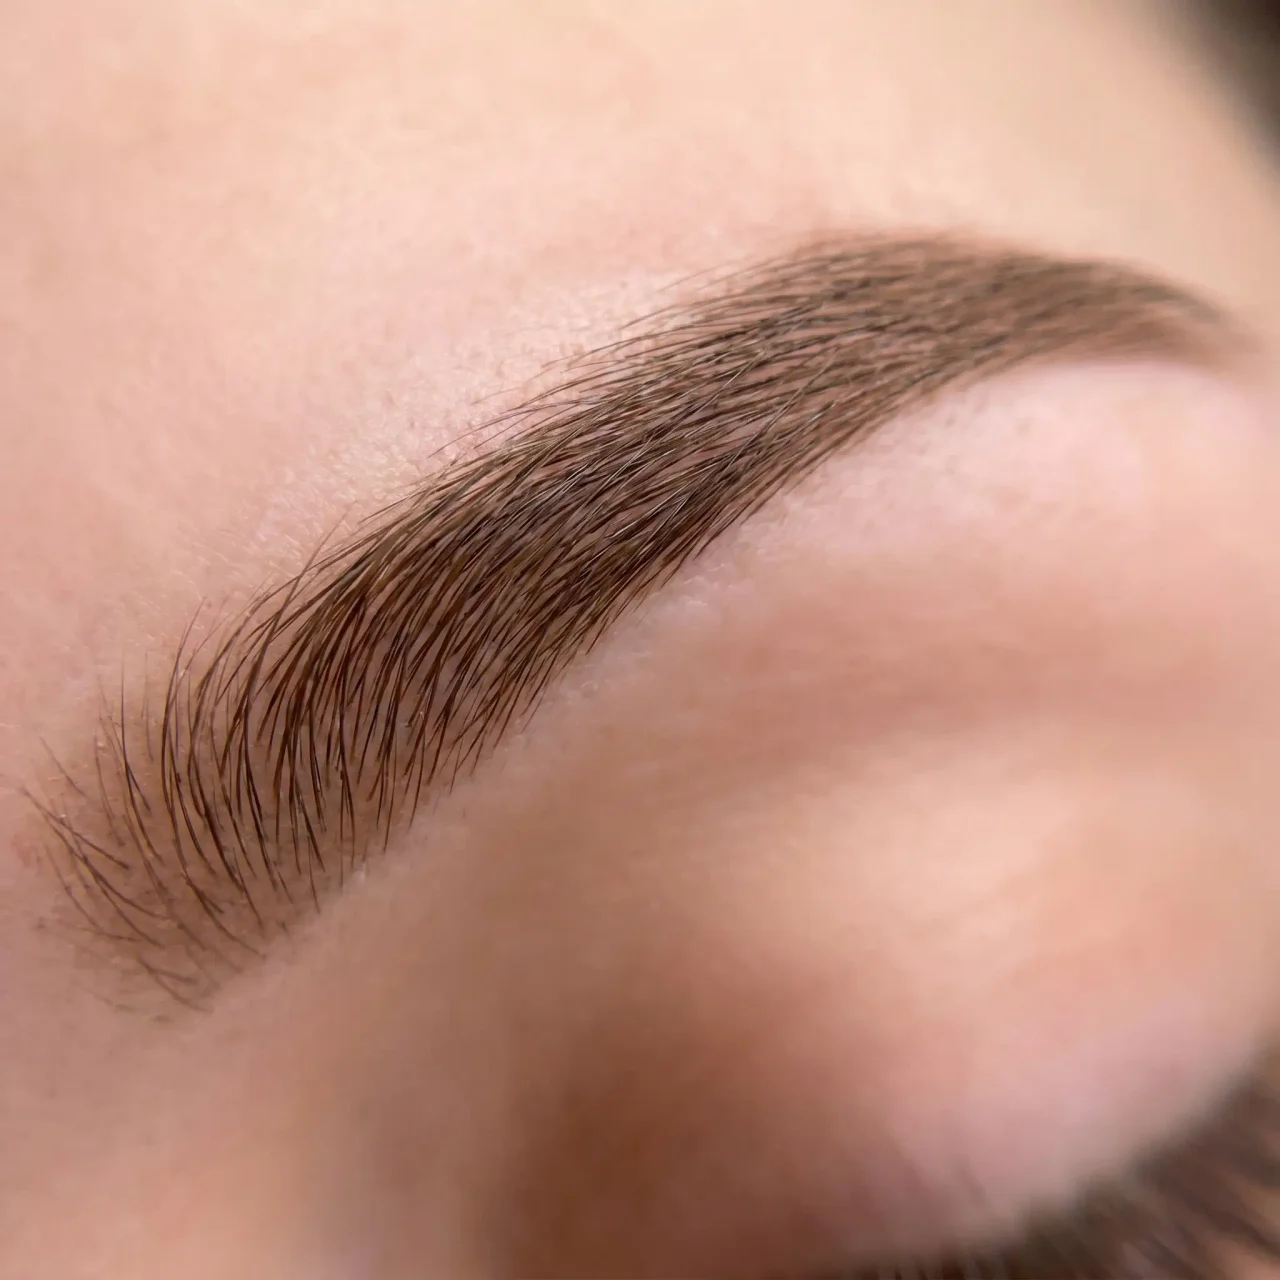
Your brows are healing. Here’s how to protect them.
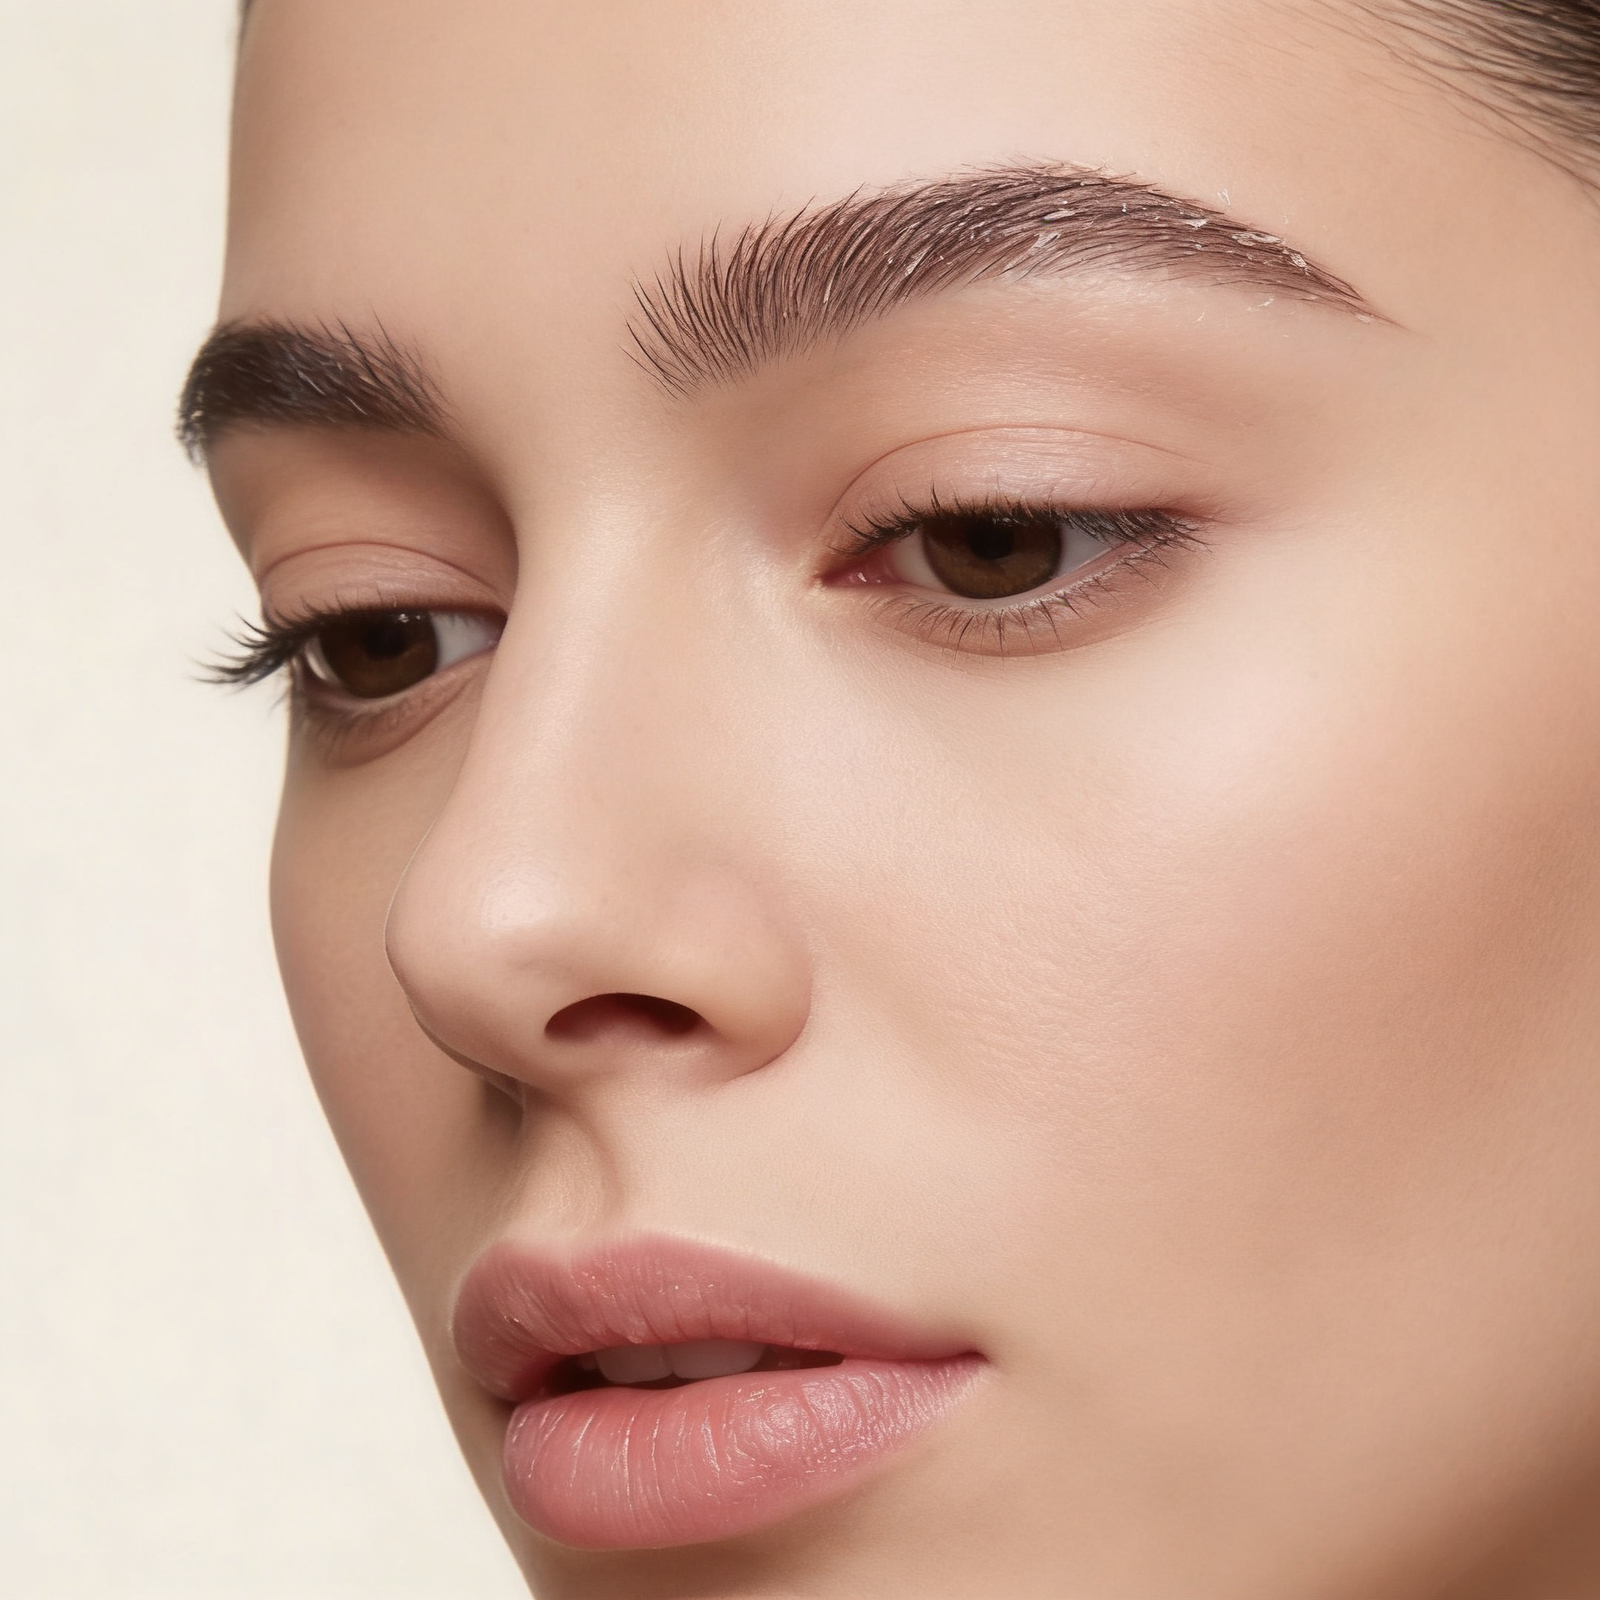
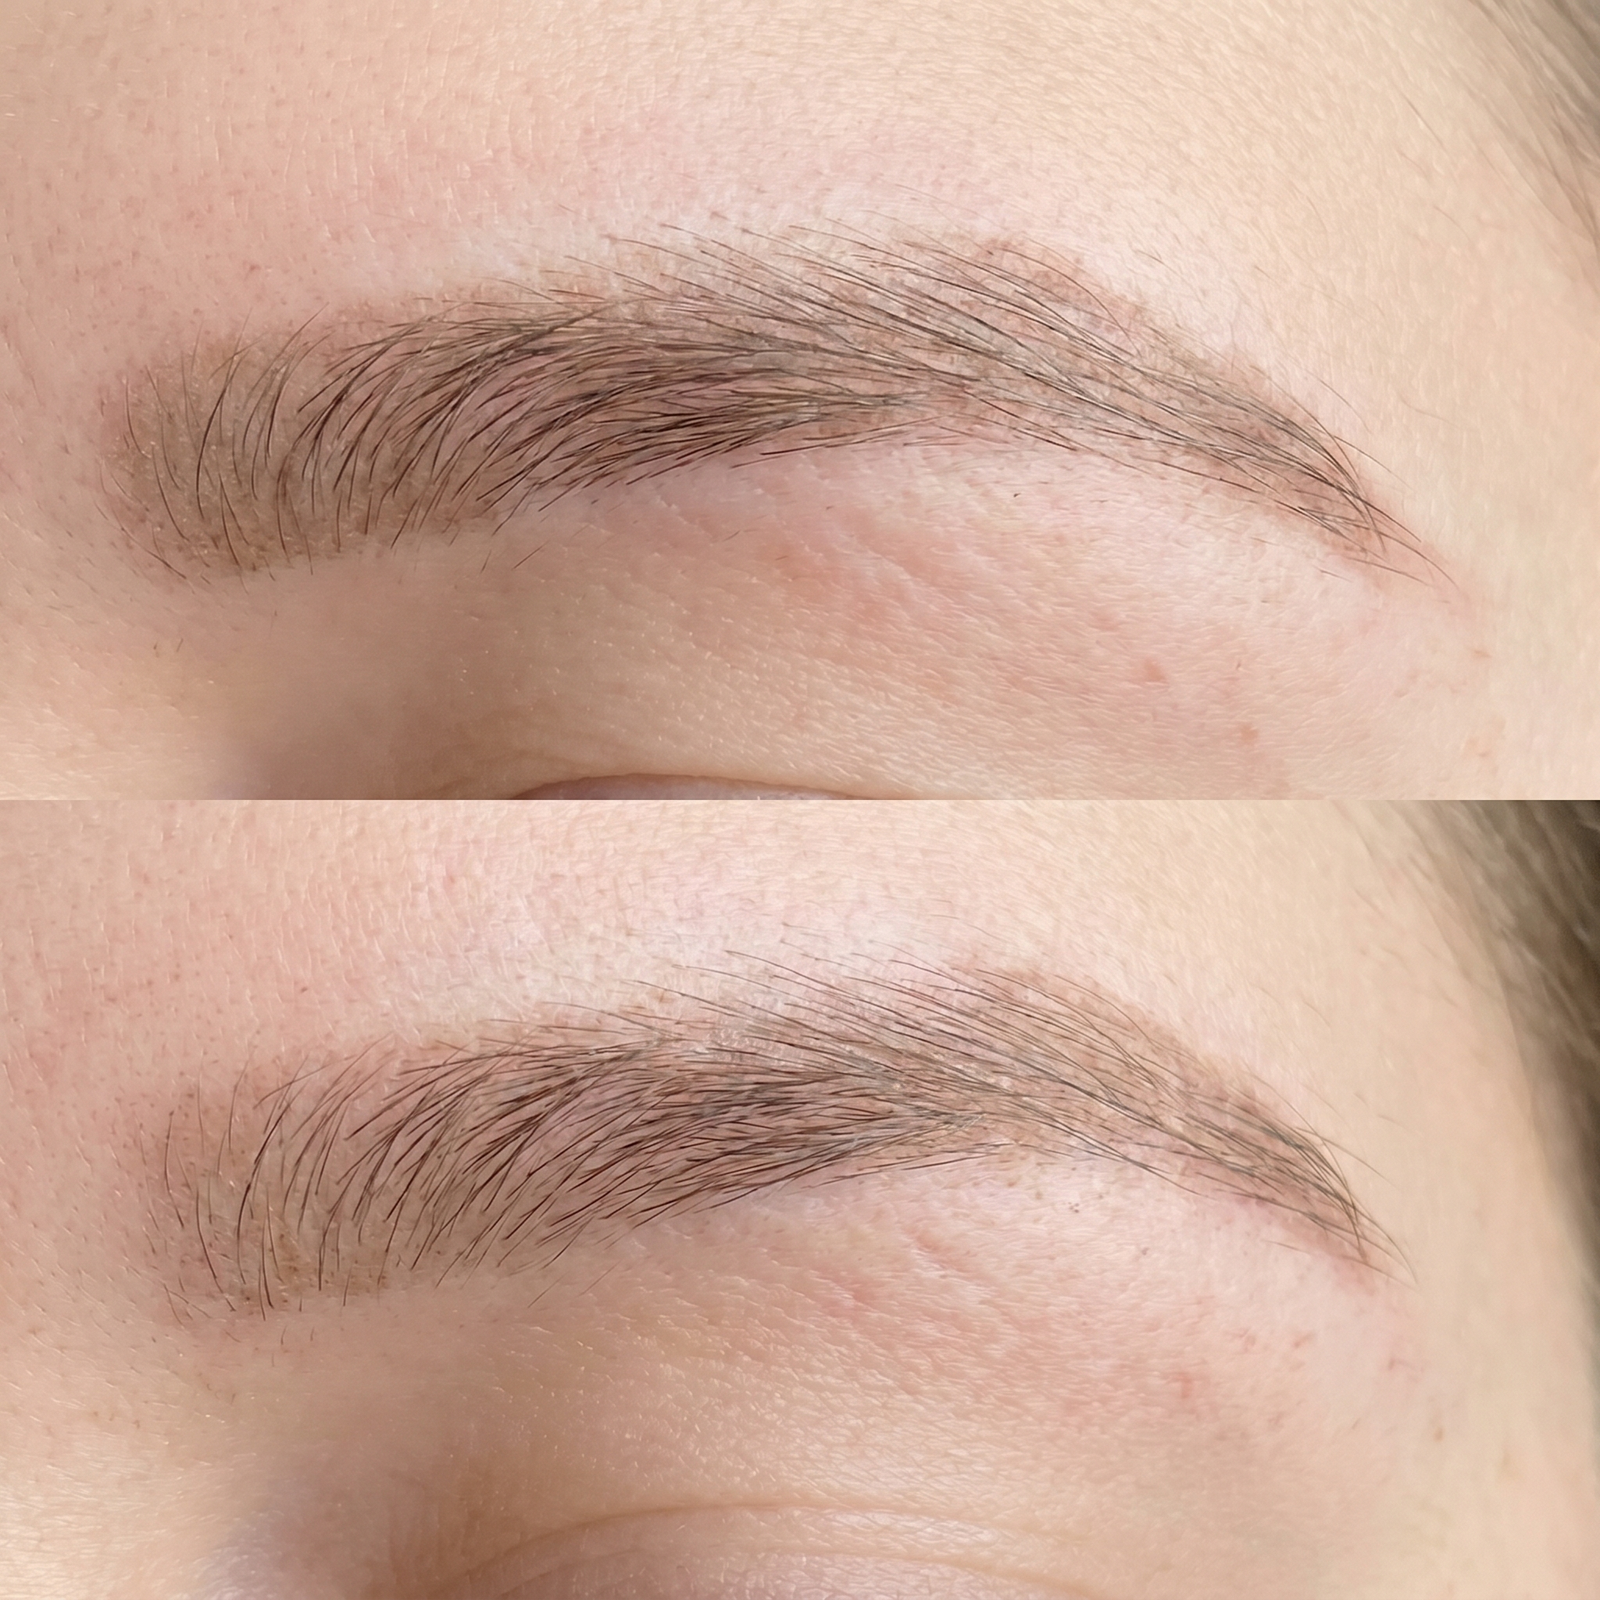
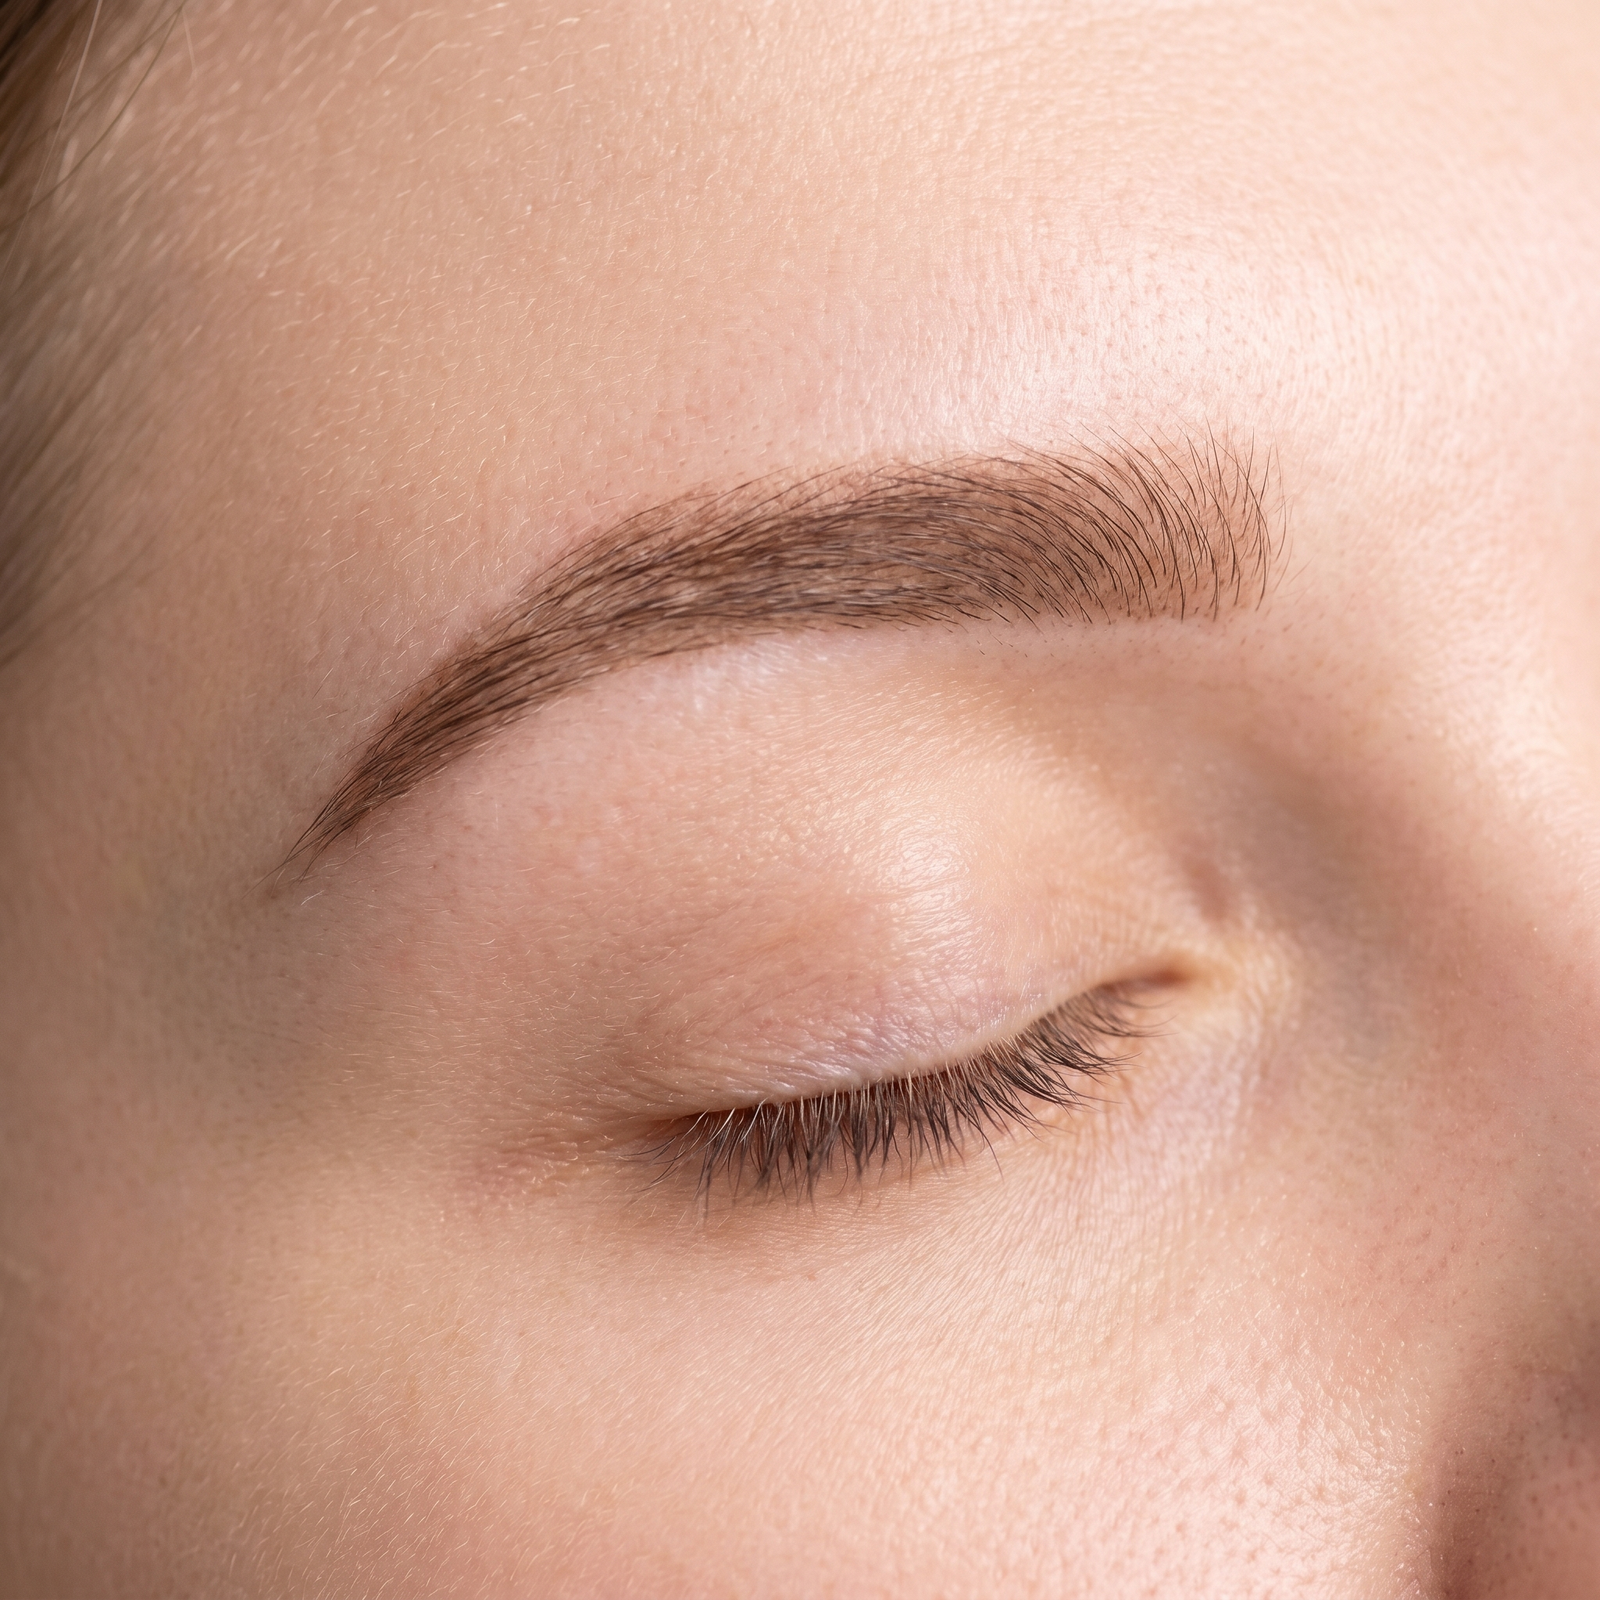
Your brows will look darker and more defined immediately after — this is completely normal. The full, settled result takes 4–6 weeks to emerge. Every stage you go through is expected. Please be patient and trust the process.
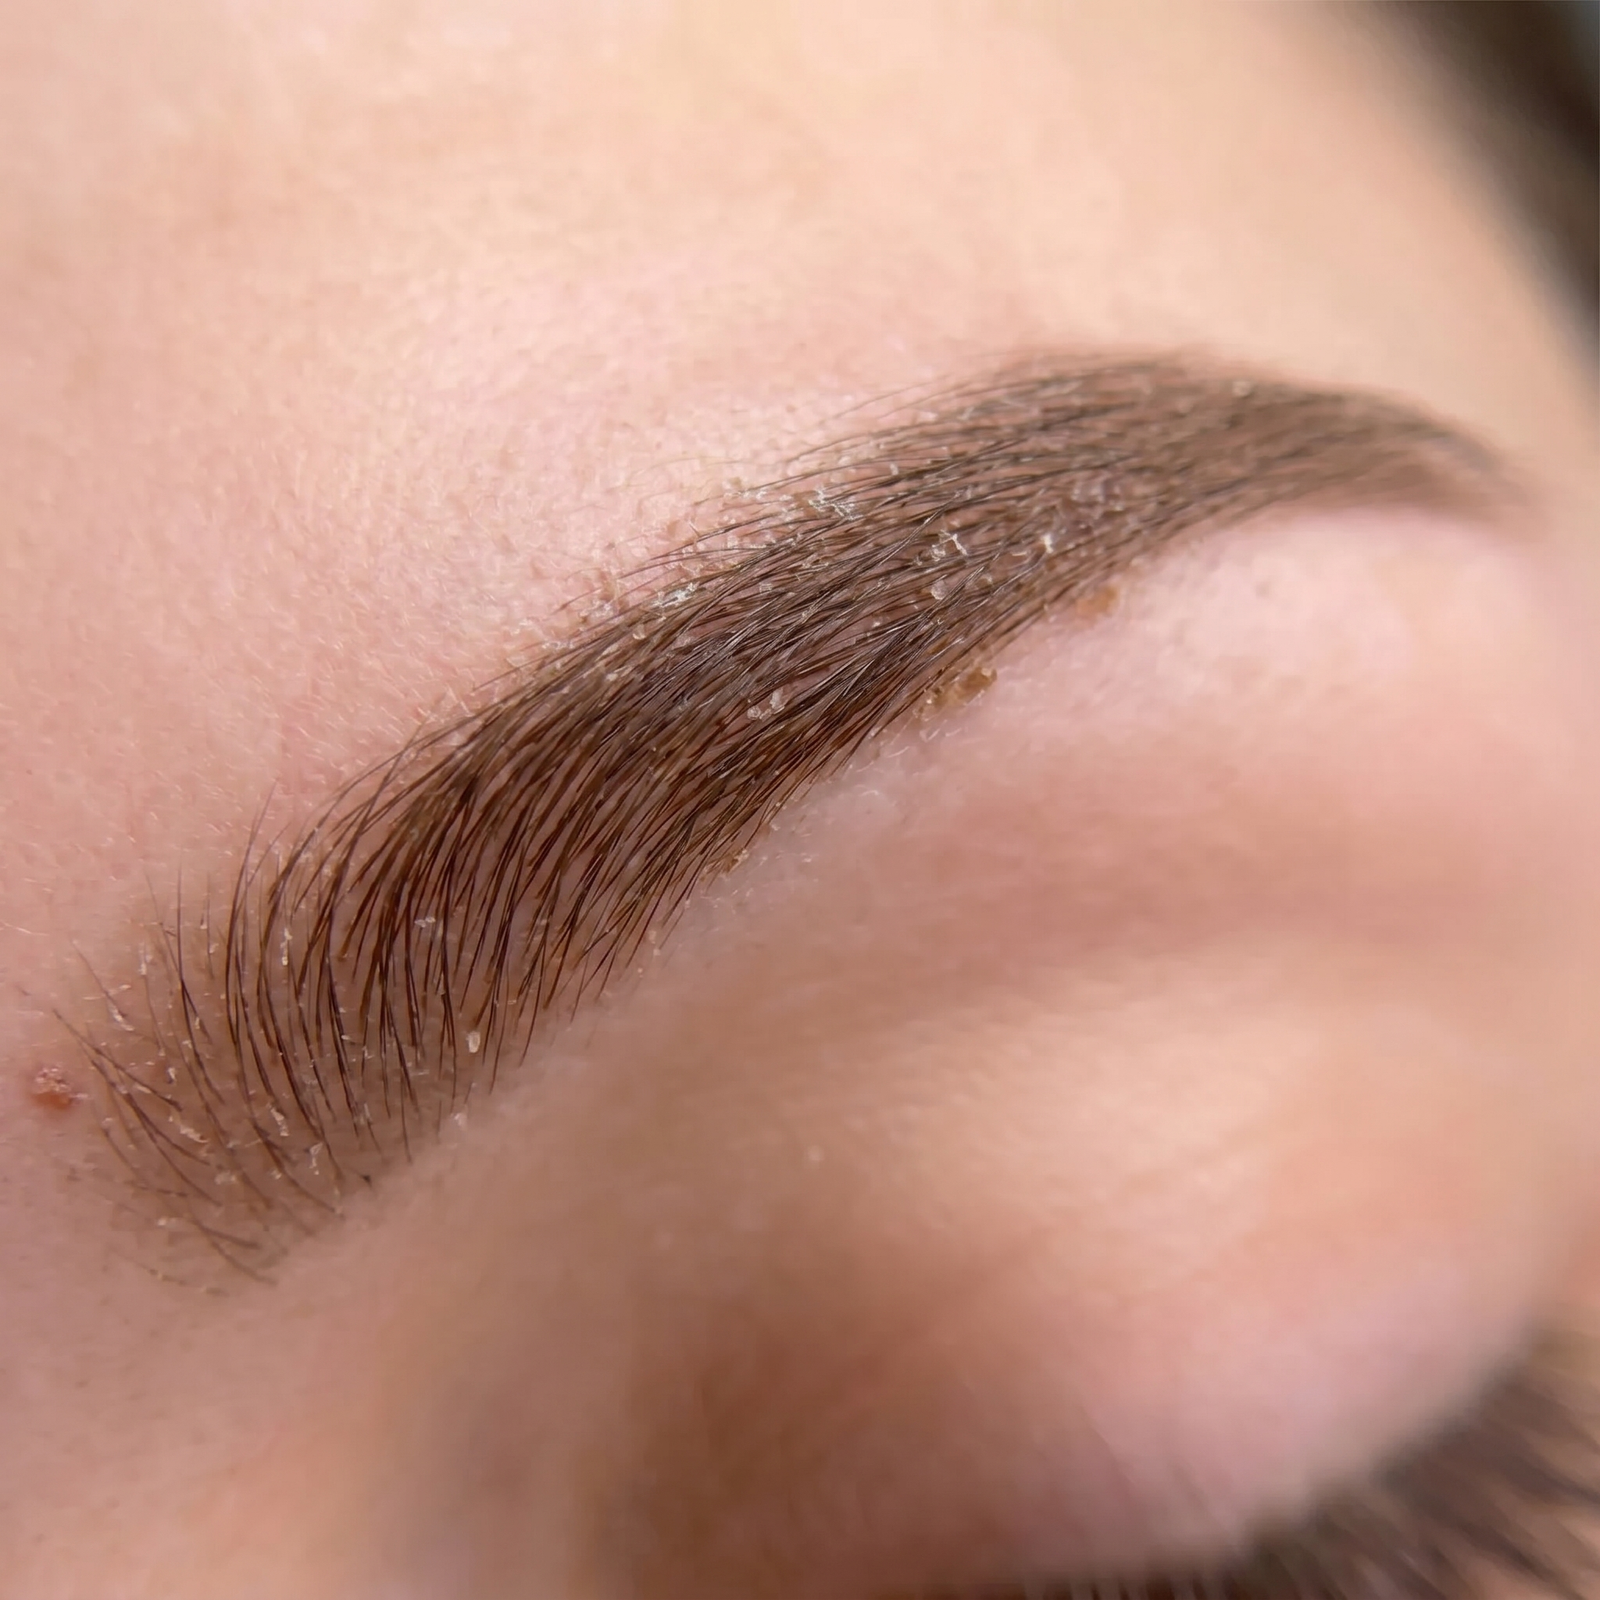
The single most important rule: Never pick, scratch or peel the skin over your brows. Peeling skin is part of healing. If you pull it off early, the pigment comes with it. Let everything fall away naturally — it always does.
Apply a rice grain sized amount — a very thin layer. Never apply heavily. Apply only on completely dry brows — never on damp skin. Use clean fingertips or a fresh cotton swab each time. Use maximum half a sachet per session and save the other half for your touch-up appointment. Excess balm suffocates the skin and damages the healing process — less is always more.
2–3 times daily, Days 1–7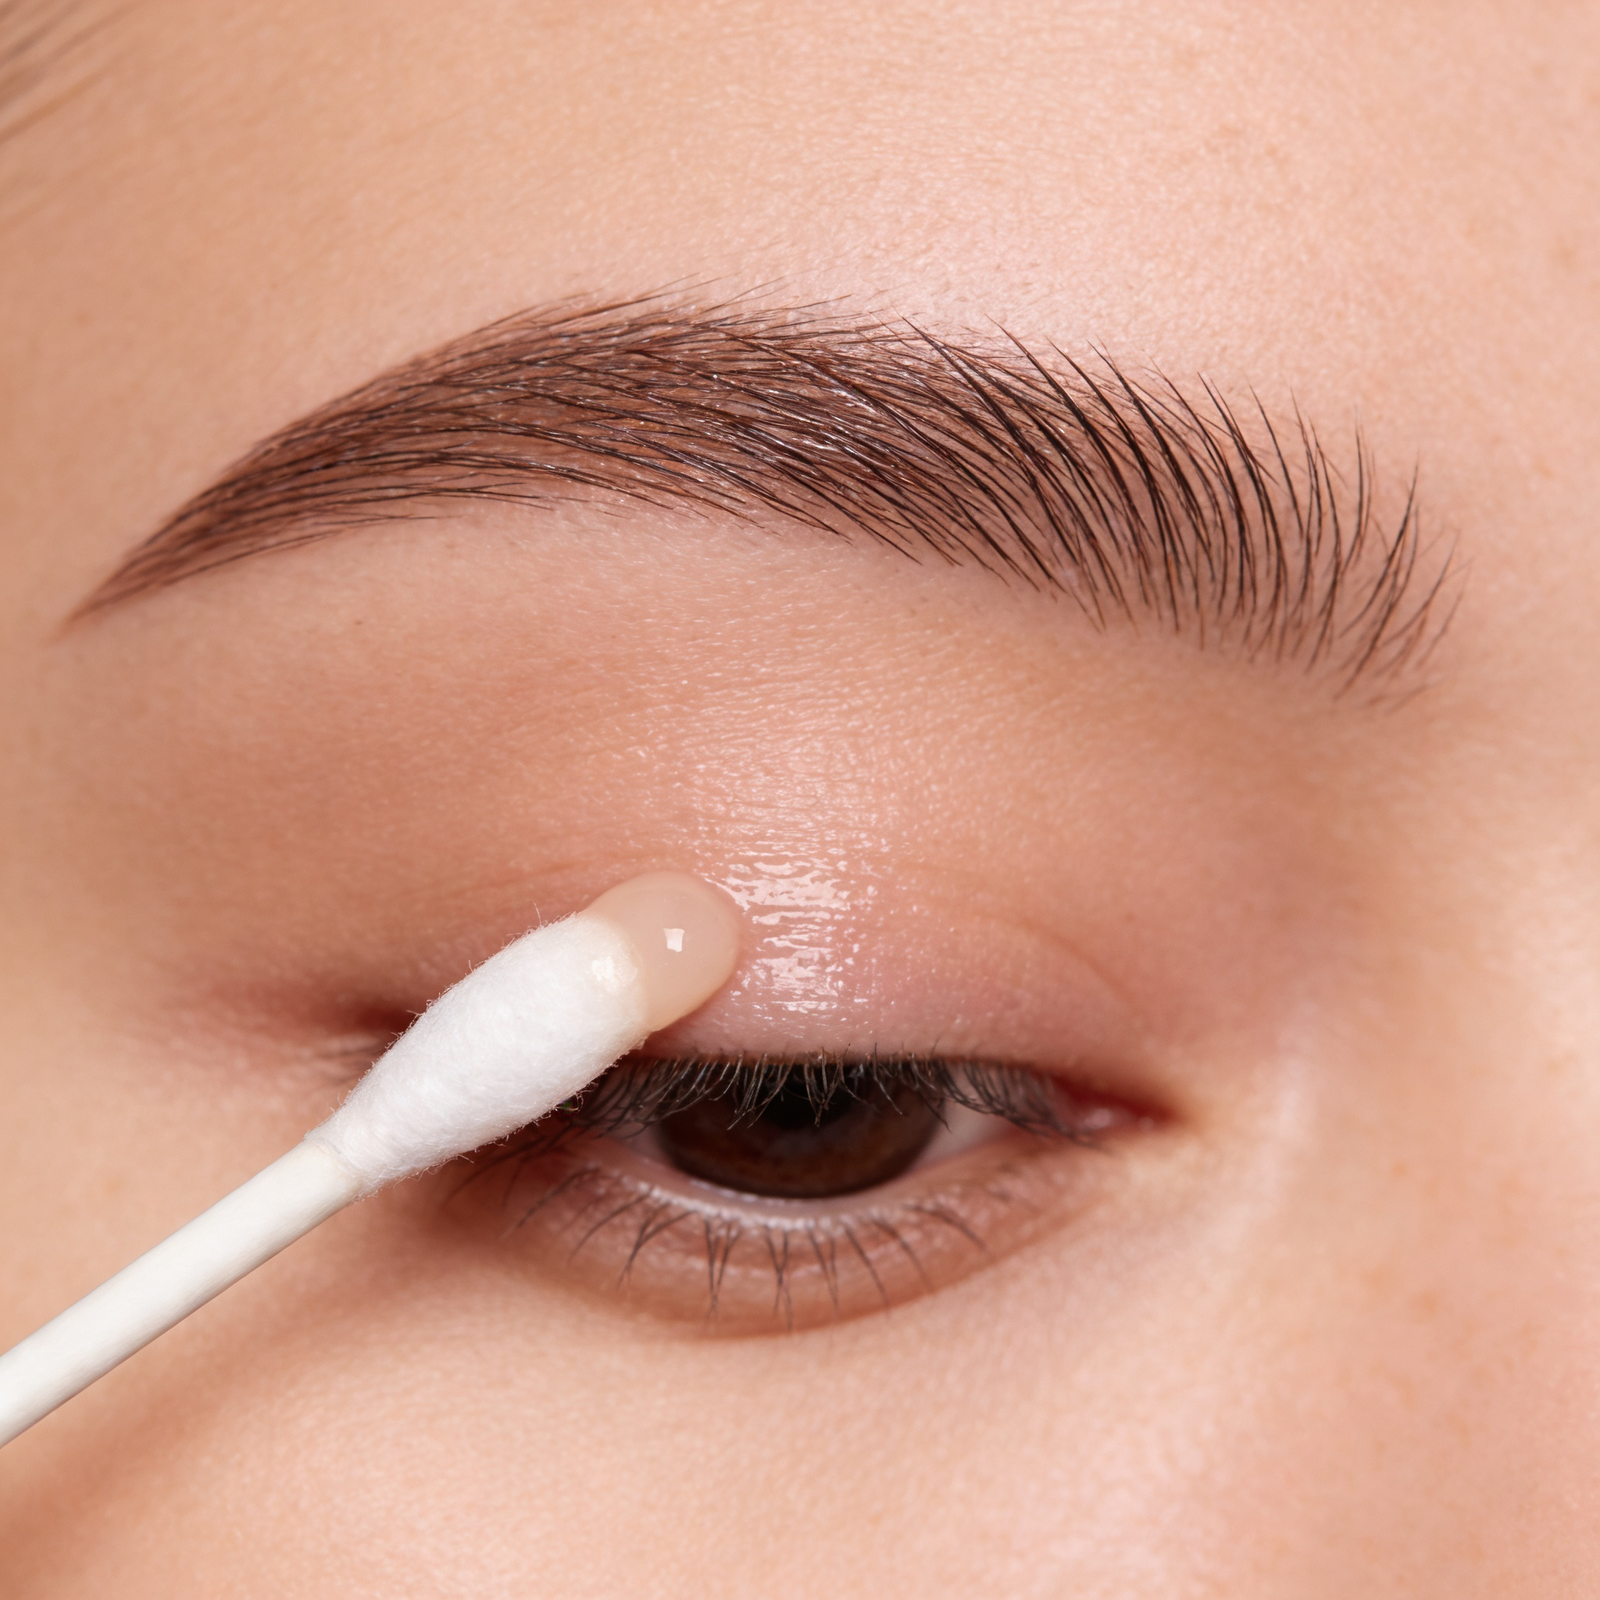
- Apply balm lightly on completely dry brows
- Cleanse gently with mineral water each morning
- Sleep on a clean pillowcase, on your back if possible
- Keep the area clean and dry
- Let flaking happen naturally
- Message me if anything concerns you
- Picking, scratching or peeling — ever
- Getting brows wet for 10 days (showers, steam)
- Gym, sauna, hot tubs, sweating (1 week)
- Makeup on the treated area (1 week)
- Sunscreen, creams or lotions directly on brows
- Sleeping face-down for 10 days
- Retinol, AHA, benzoyl peroxide (4 weeks)
- Facials, Botox or chemical treatments (4 weeks)
- Direct sun or tanning (4 weeks)

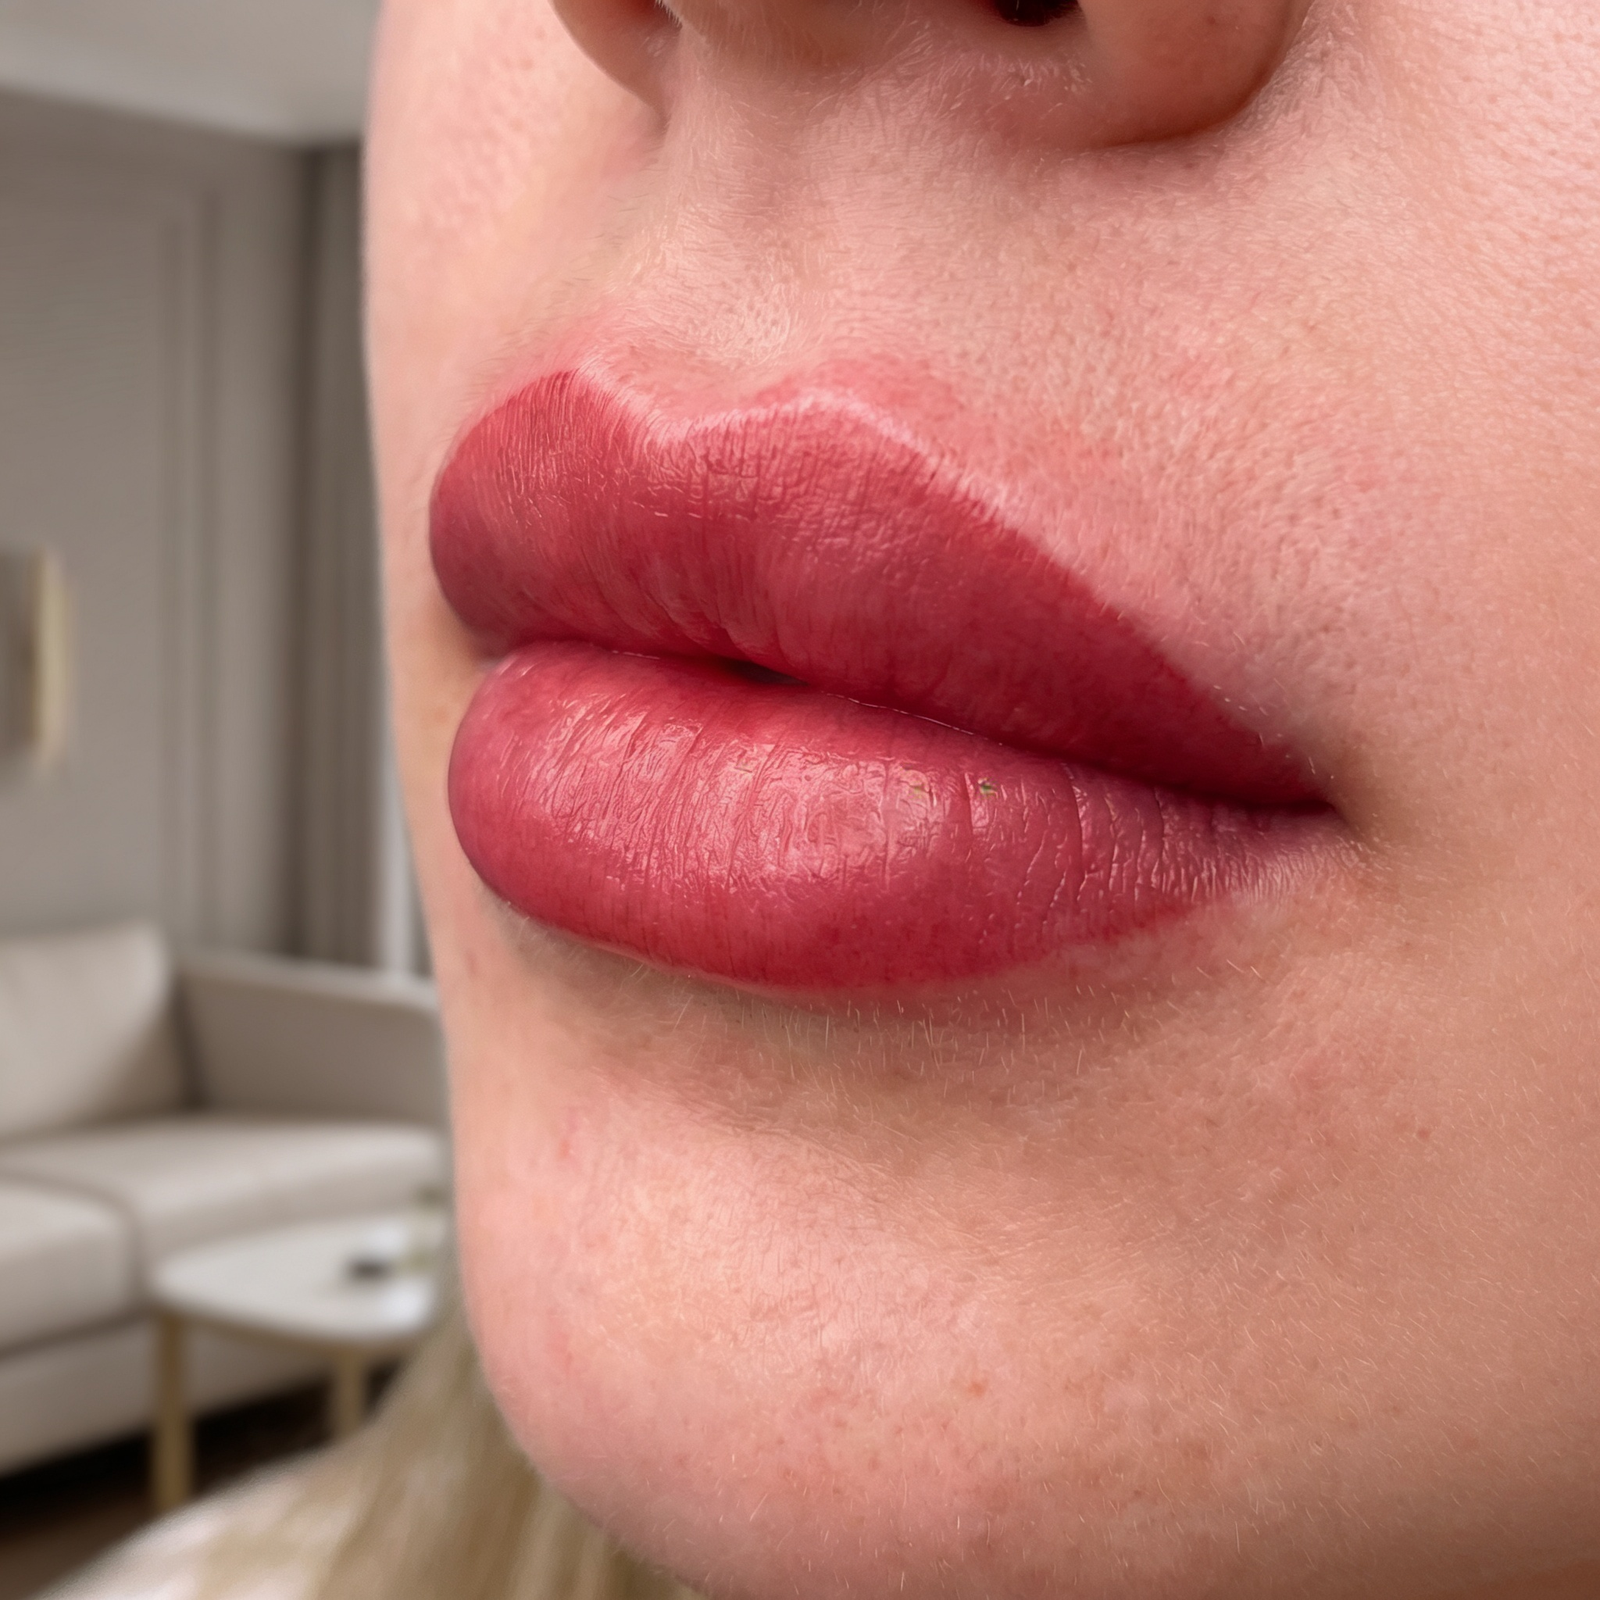
Your lips are healing. Every stage is normal.
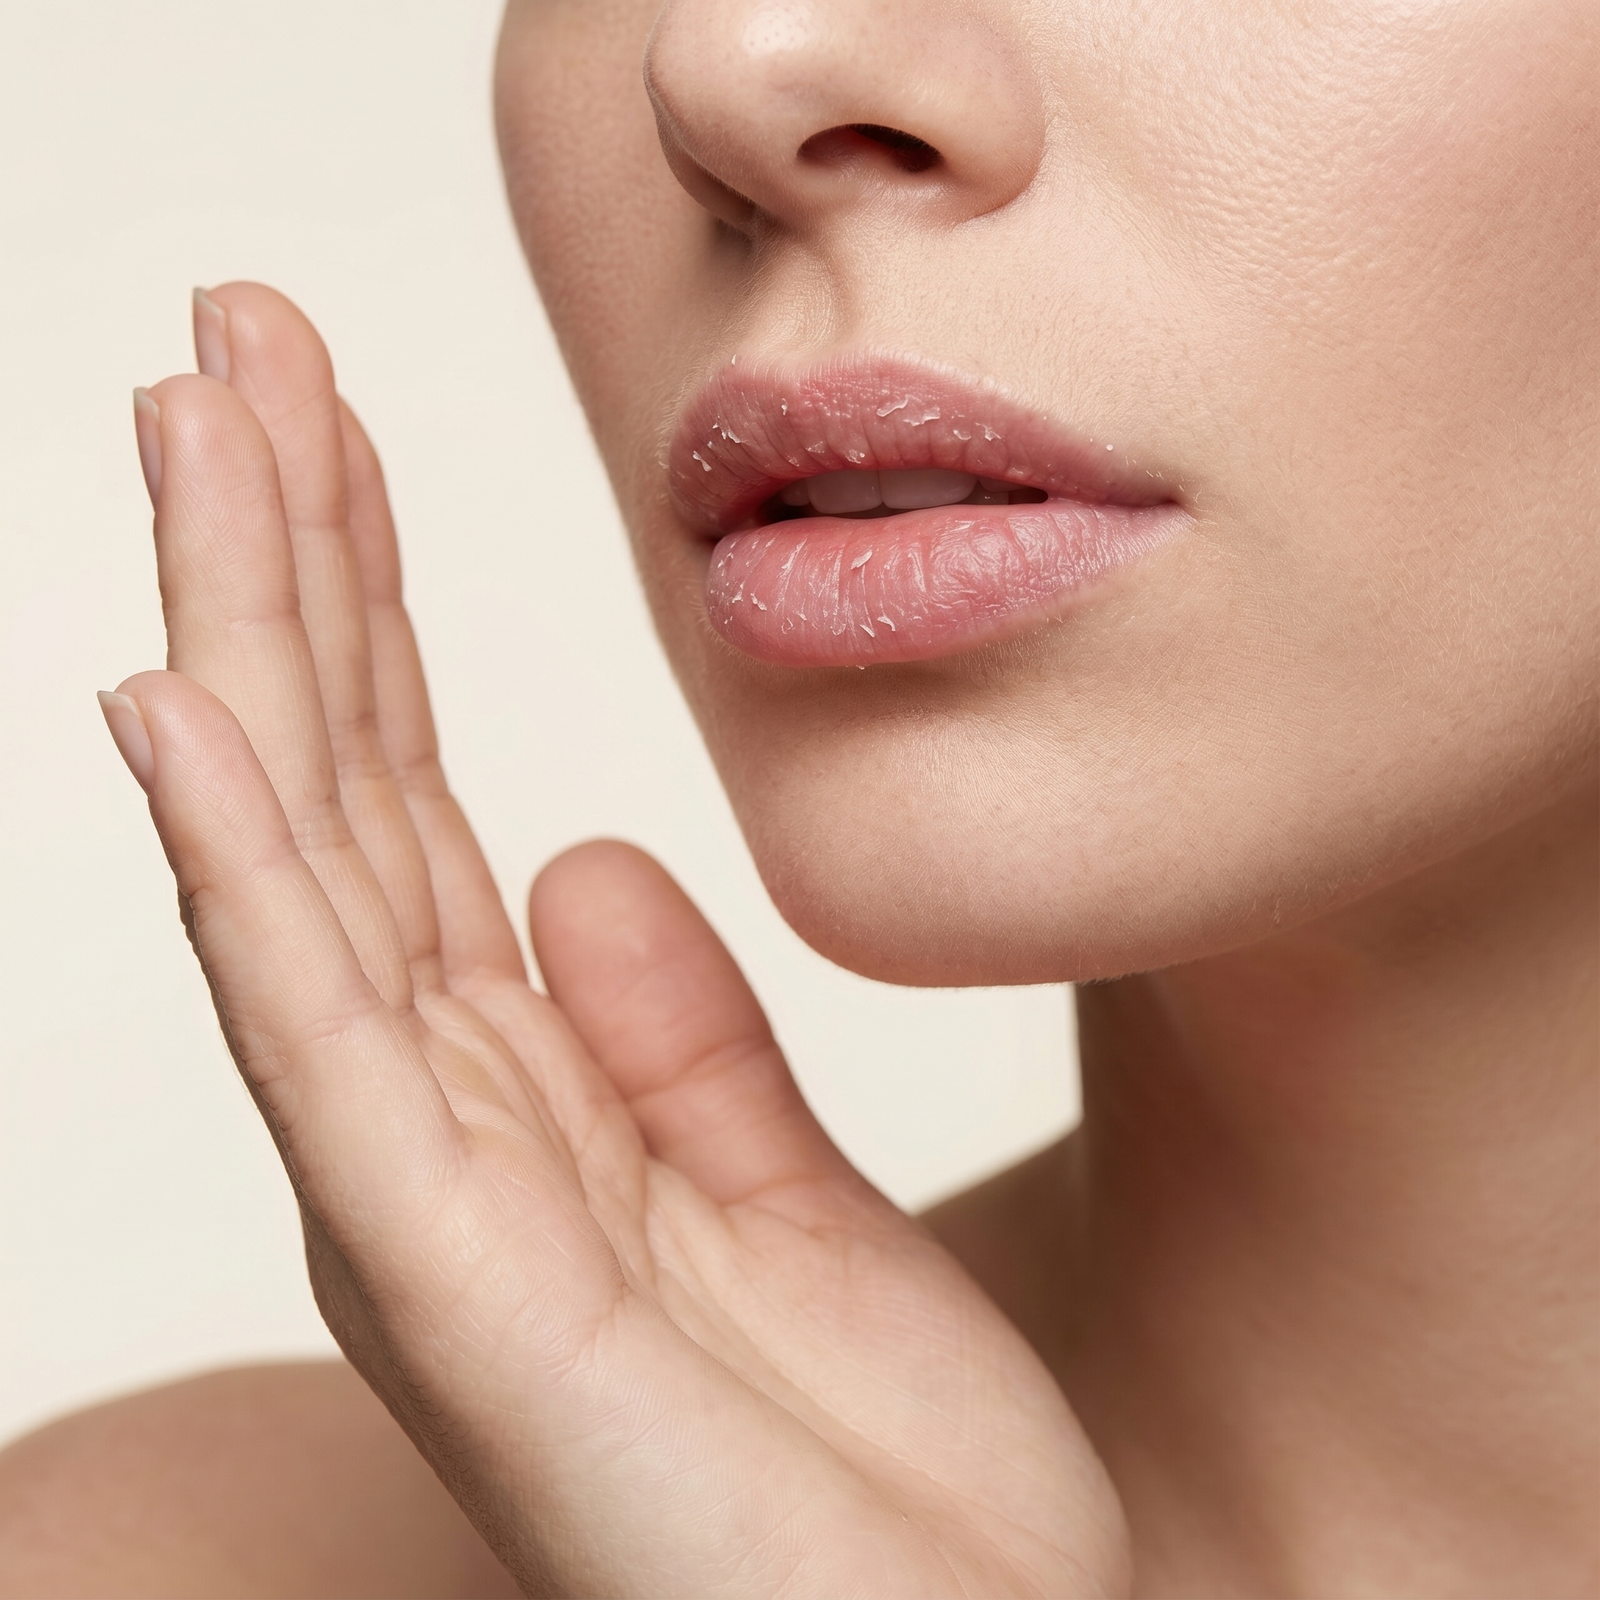
Your lips will look vivid and bright immediately after — much more than the final result. This is expected and temporary. The colour softens, settles and reveals its true self over the next 4–6 weeks. Be patient. Every stage you go through is completely normal.
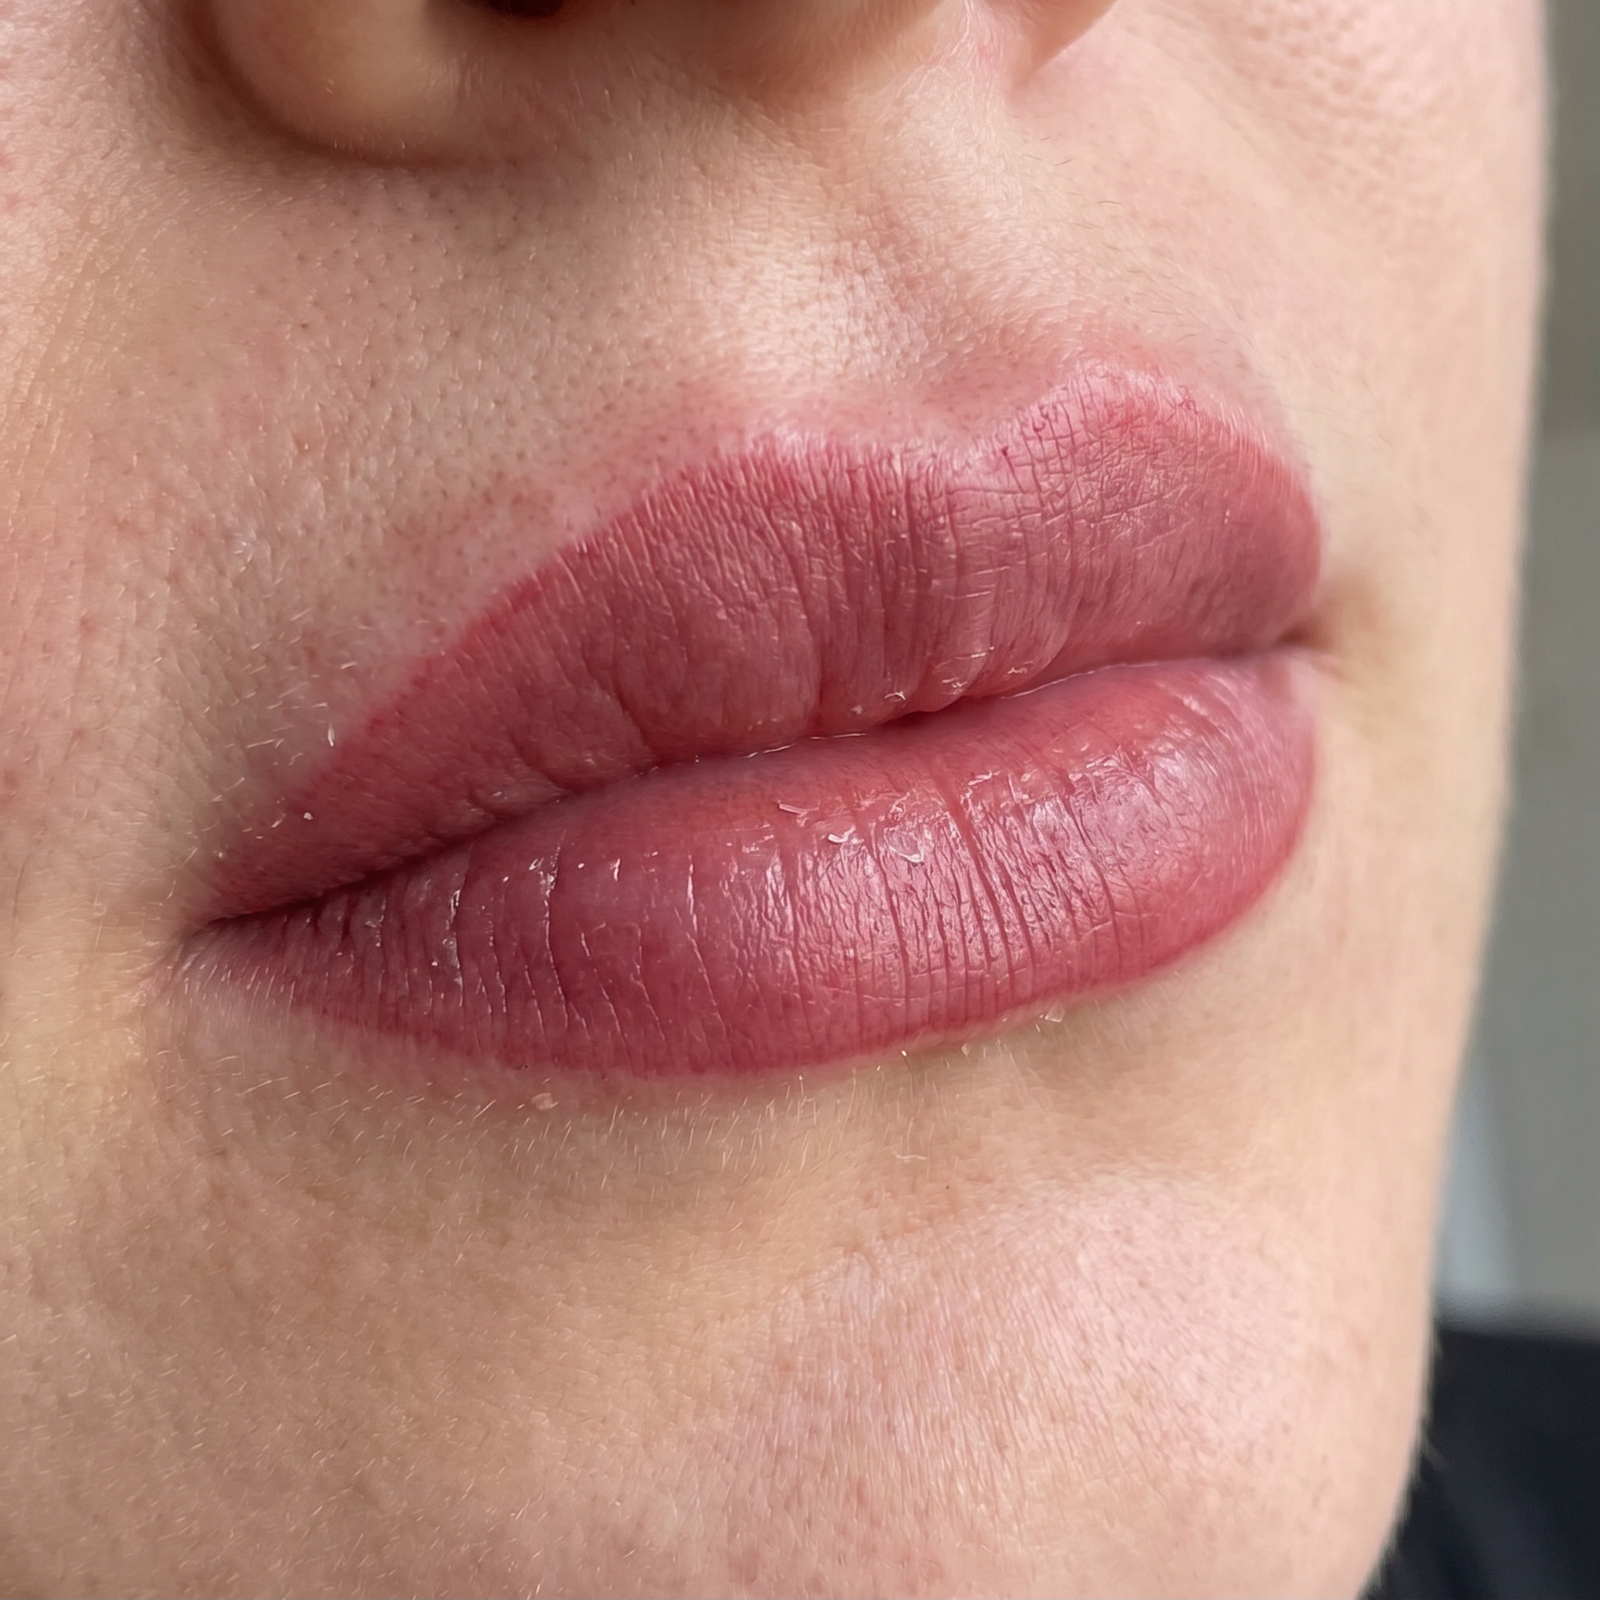
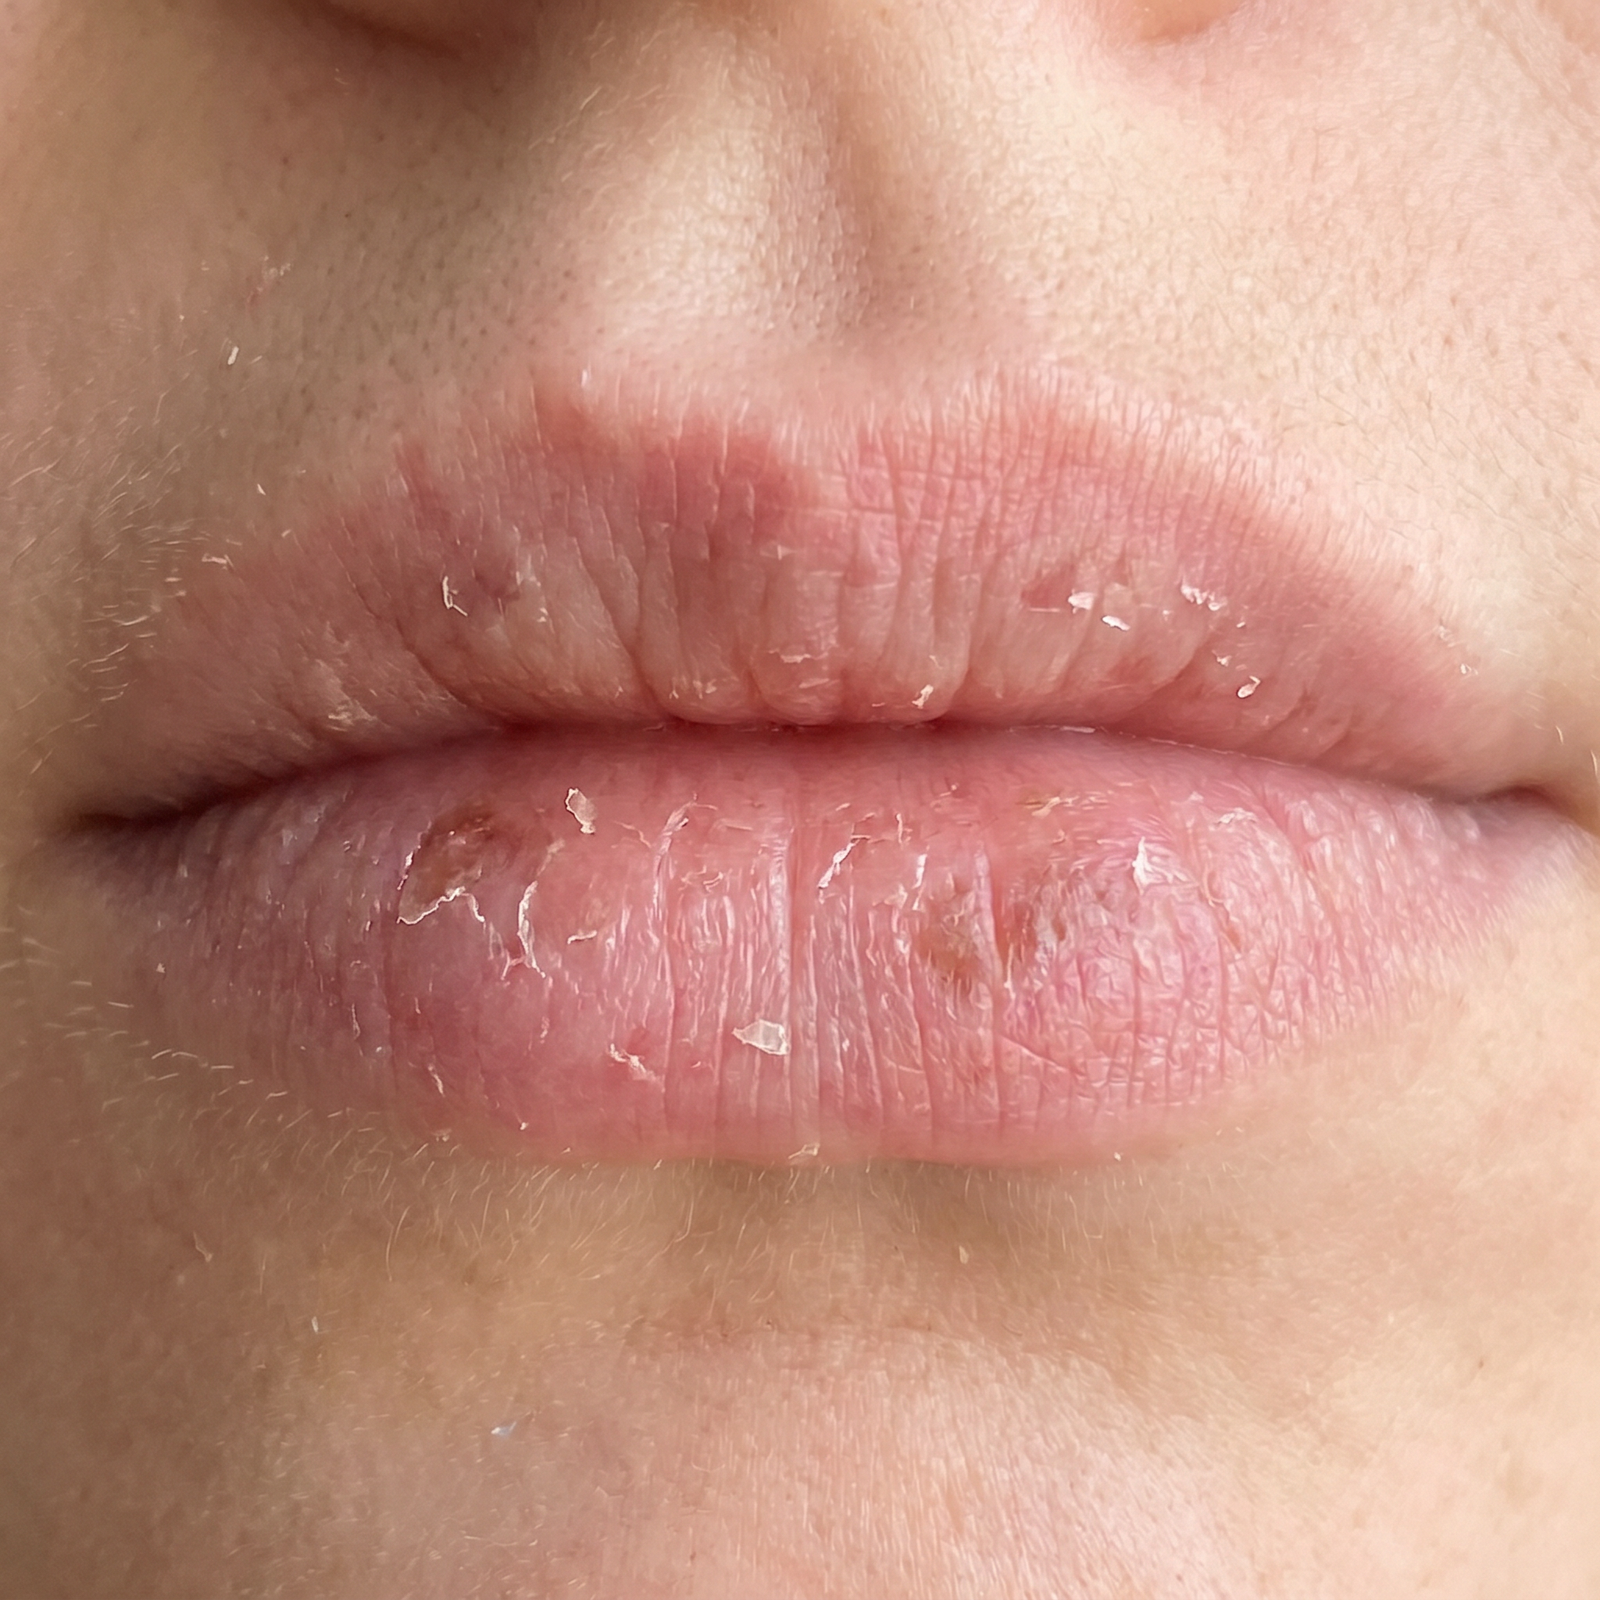
The golden rule: Never pick, peel or rub the skin on your lips during healing. Removing a flake before it is ready removes pigment with it — that area heals lighter. Let everything fall away naturally, in its own time.
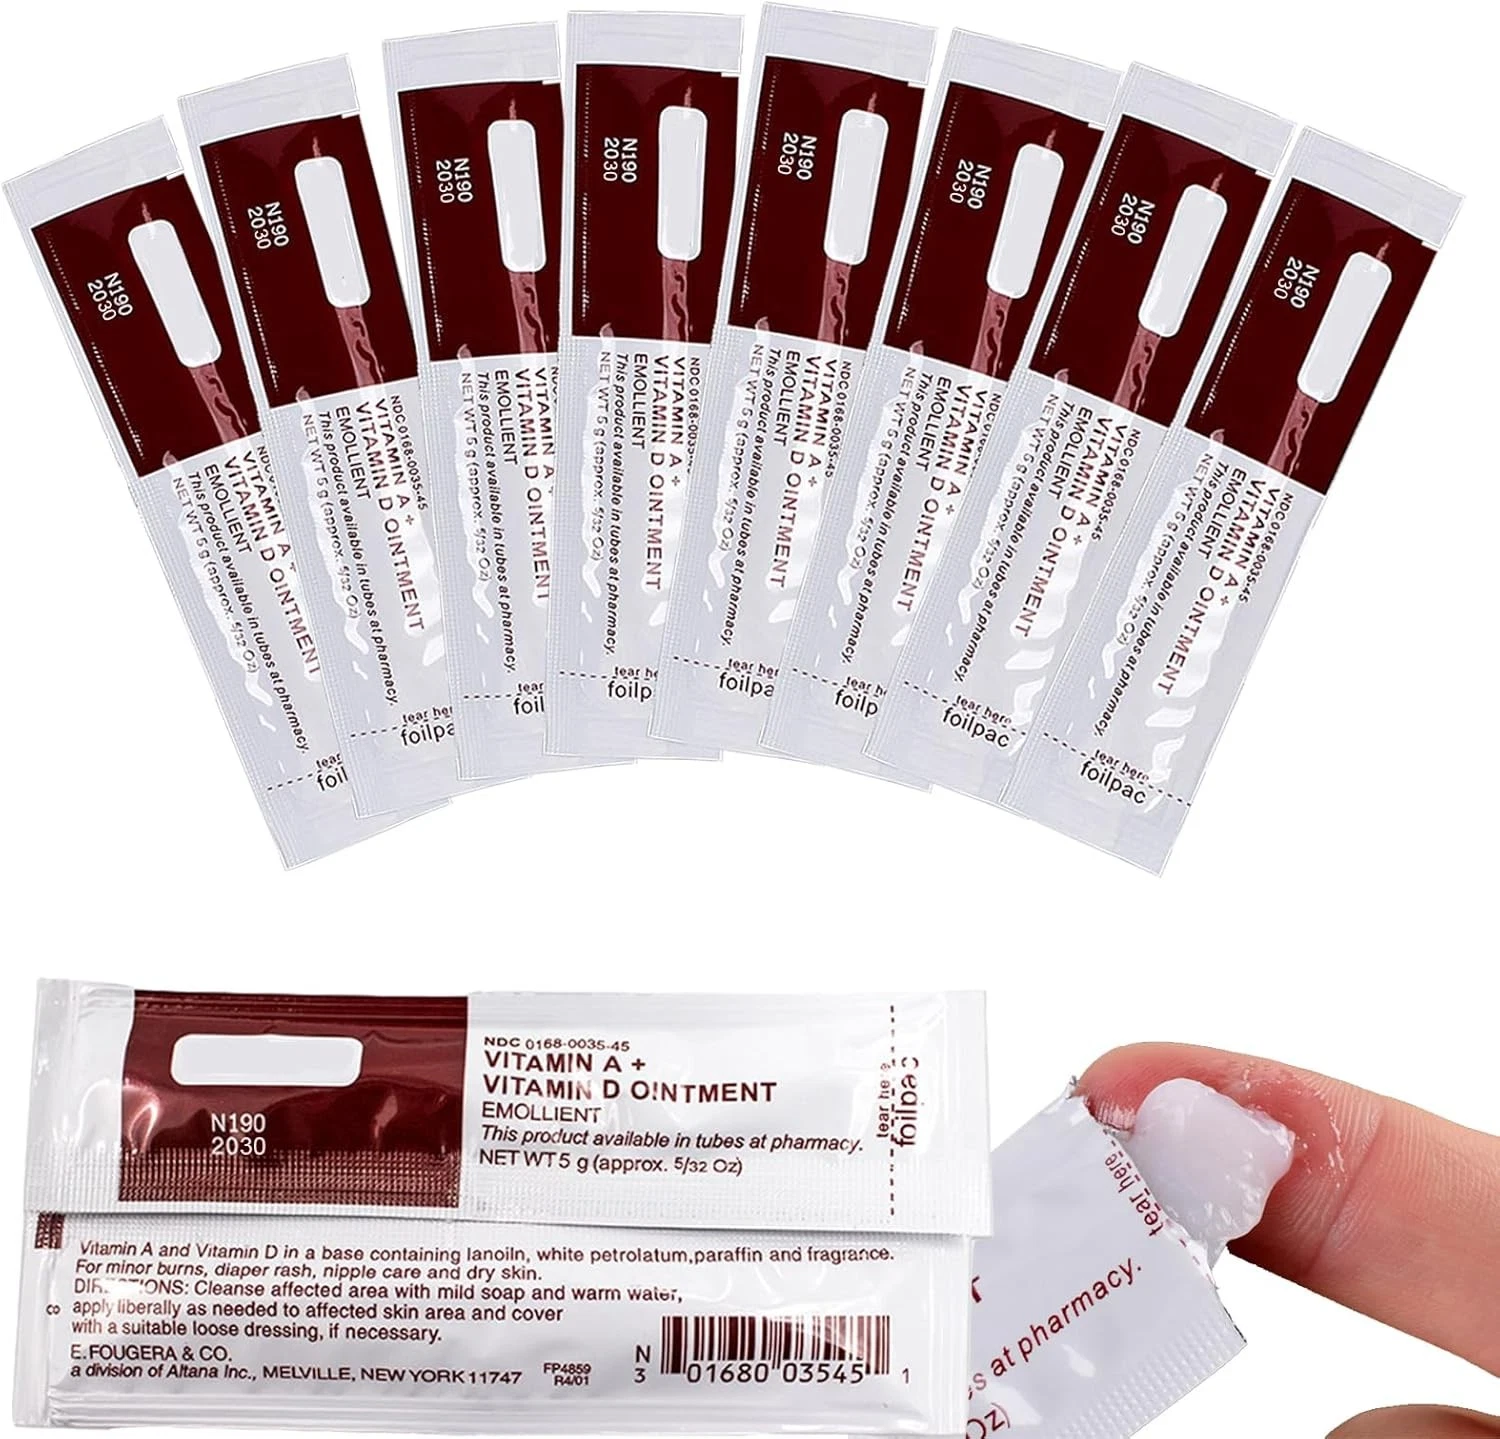
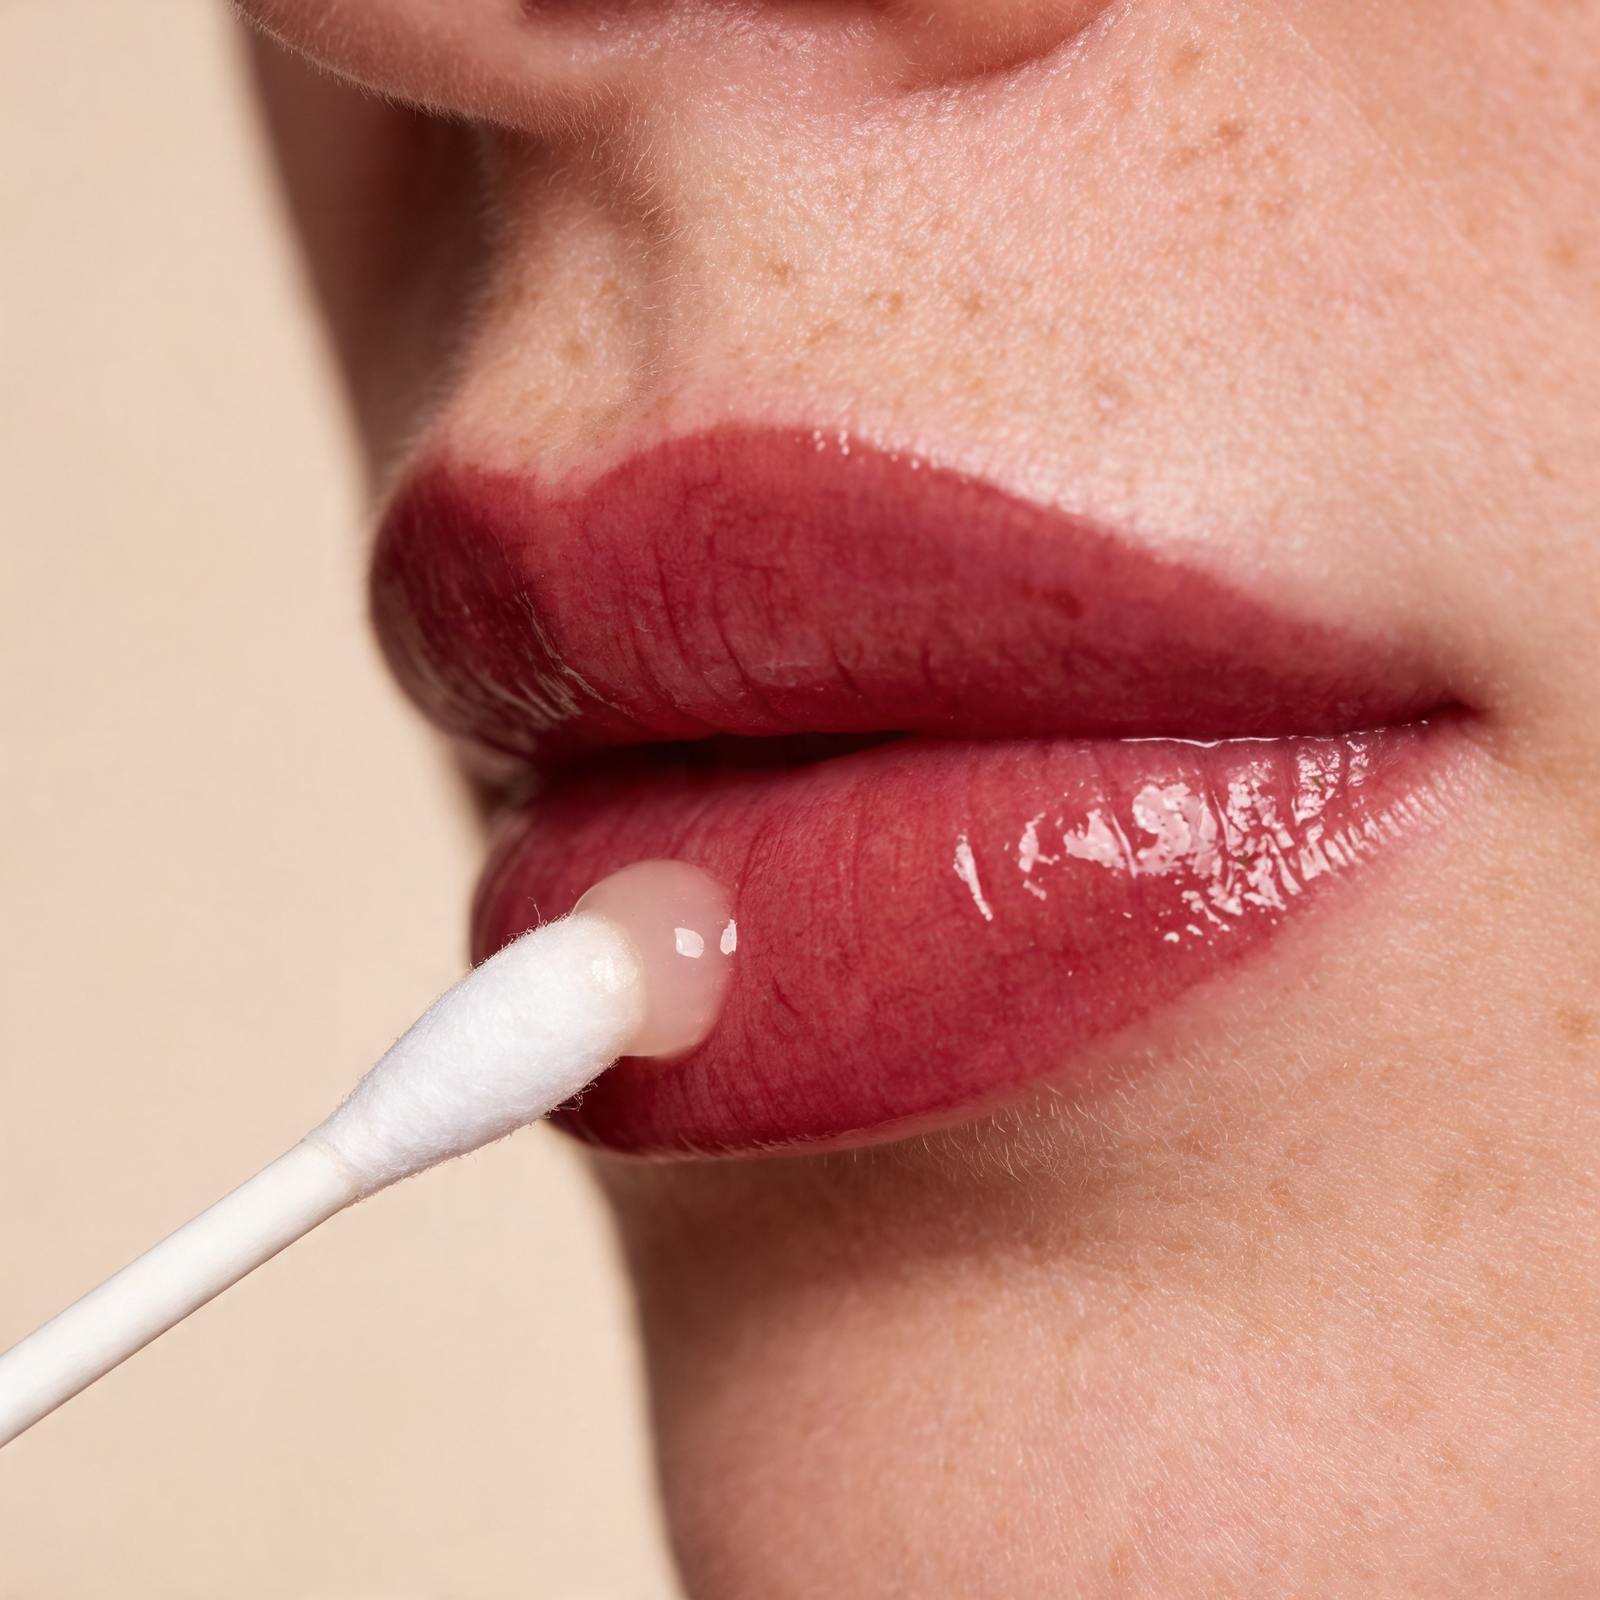
Apply a rice grain sized amount only — lips should feel comfortable, not greasy. Always apply on completely dry lips. Use a clean cotton swab each time. Maximum half a sachet per session — save the other half for your touch-up. Over-applying suffocates the skin and delays healing. Less is always more.
3 times daily, Days 1–7Many clients are surprised by this — but you need to gently wash your lips during healing. This removes lymphatic fluid (the clear fluid that naturally weeps from healing skin) and bacteria that build up on the surface. If this fluid dries into a crust without being removed, it pulls pigment away when it falls off.
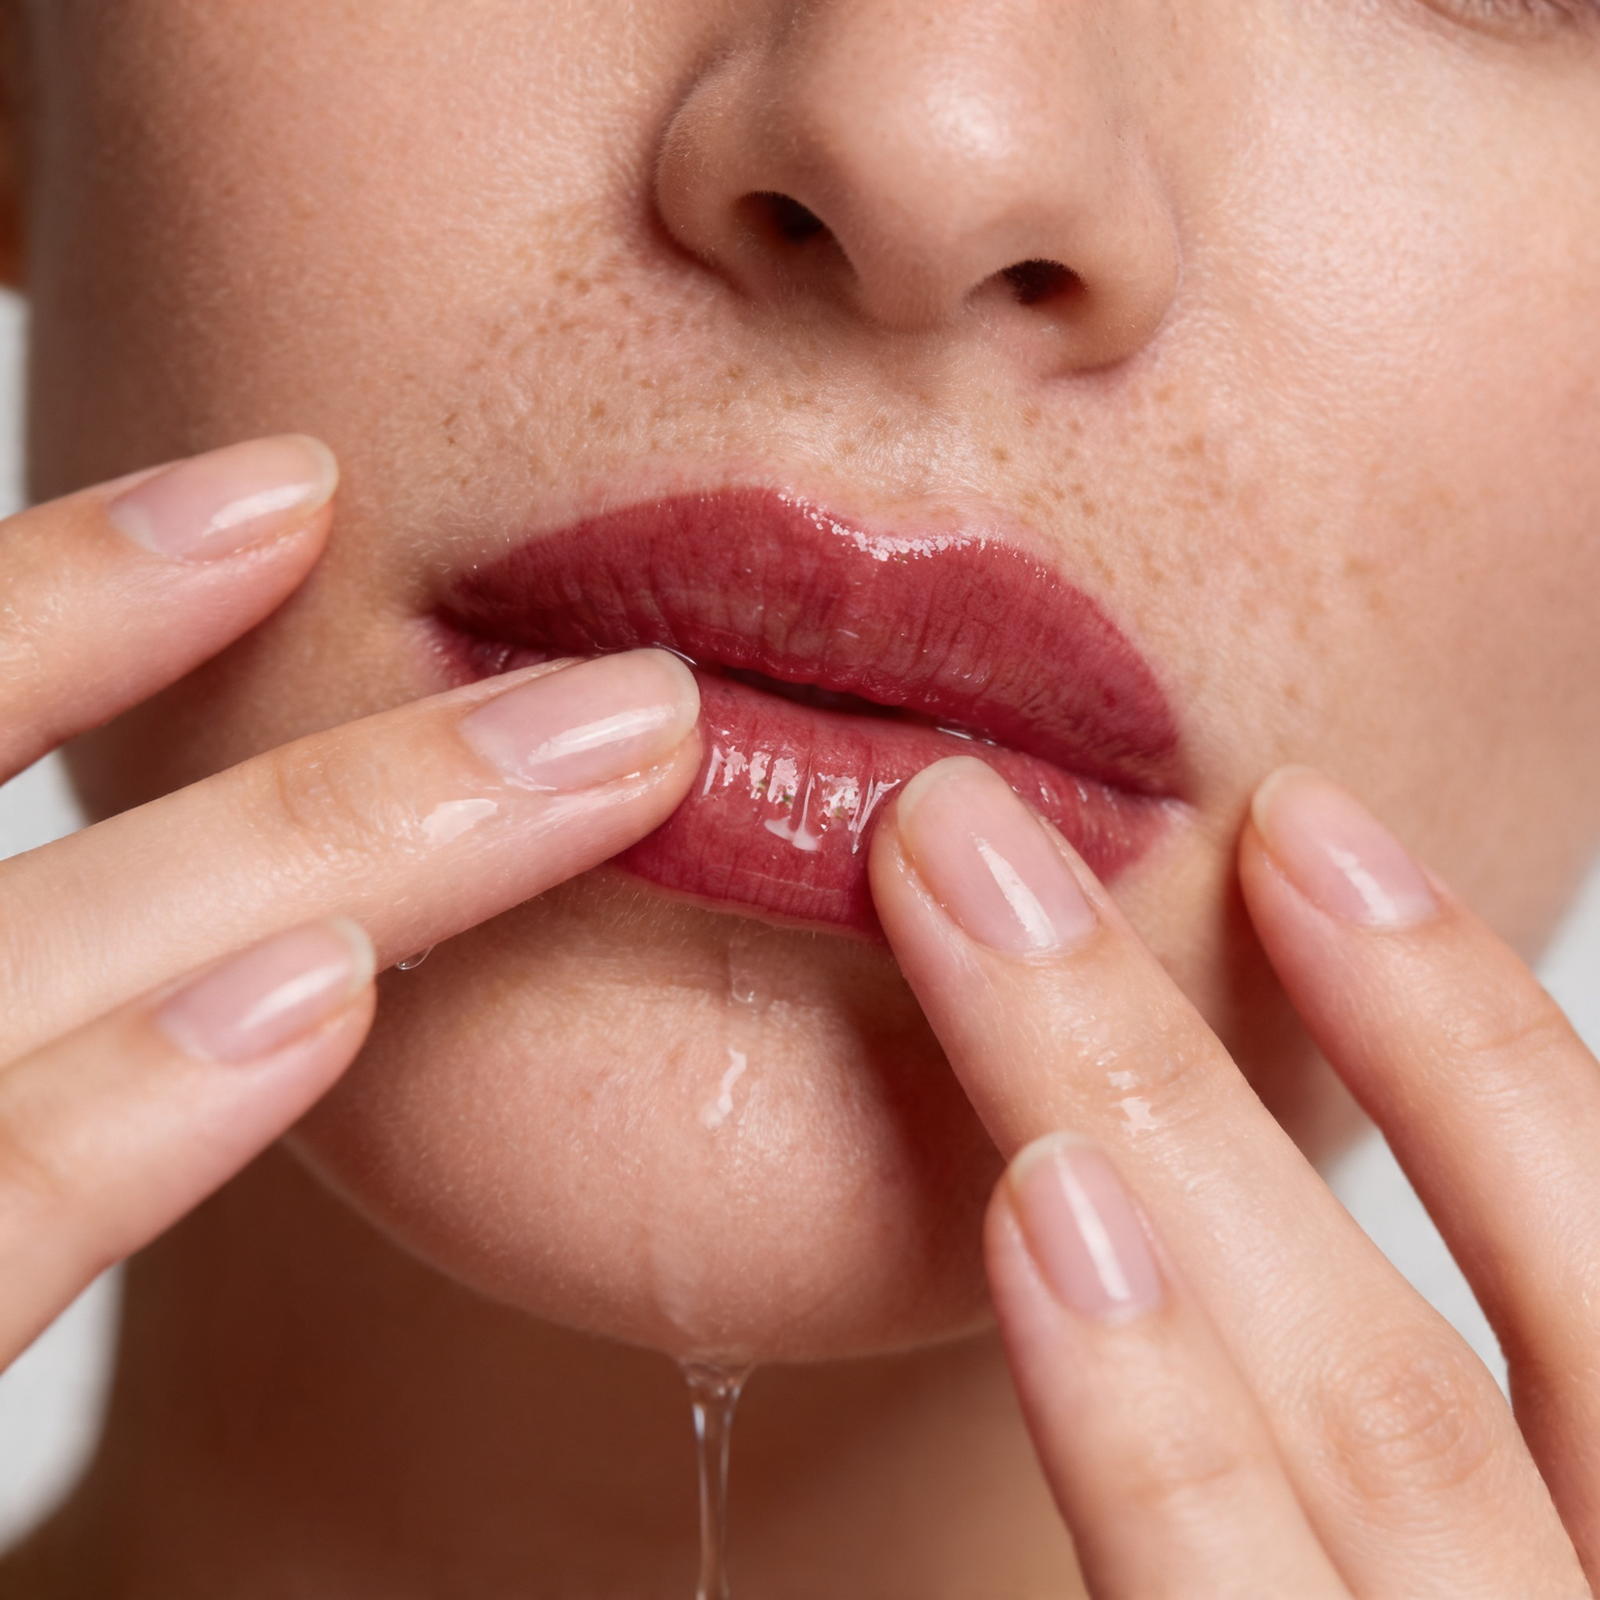
How to wash: Morning and night, Days 1–7. Clean fingertips, a tiny amount of mild unscented cleanser (baby shampoo, Cetaphil or Dial Soap), lukewarm water. Light pressure, about 10 seconds. Rinse thoroughly. Pat dry with a clean tissue. Wait until completely dry before applying balm.
- Wash gently morning & night, Days 1–7
- Apply balm on completely dry lips only
- Use a rice grain amount — never more
- Drink through a straw first few days
- Sleep on a fresh clean pillowcase
- Continue antivirals if prescribed
- Picking, peeling or rubbing
- Applying balm on wet or damp lips
- Spicy, acidic or very hot food (7 days)
- Gym, sauna, swimming (7 days)
- Lipstick on treated area until fully healed
- Facials, Botox, chemical treatments (4 weeks)
- Sun exposure during healing
- Acids, retinol, exfoliants near lips
If a cold sore appears during healing — start antivirals immediately and message me. Do not panic. We will adjust the touch-up timeline accordingly, and your result can still be beautiful.
After your laser session — what to expect
Laser removal works by breaking up the pigment particles under your skin so your immune system can carry them away naturally. This process continues for weeks after each session. What you do in the days following each treatment directly influences how effective the removal is.
Some redness, swelling and mild blistering in the treated area is completely normal after a laser session. This is your skin responding to the treatment — not a sign that anything has gone wrong. It settles within a few days.
- Keep the area clean and dry
- Apply cool compress if uncomfortable
- Use SPF50 daily on the area once healed
- Moisturise with fragrance-free product
- Stay well hydrated every day
- Wear loose, breathable clothing over the area
- Picking, scratching or peeling any blistering
- Sun exposure (4+ weeks after each session)
- Makeup directly over treated area
- Sweating, gym or sauna (48 hours)
- Hot baths or hot tubs (72 hours)
- Swimming or soaking (first week)
For any discomfort, redness or mild burns after laser: Aloe vera gel, Sudocrem or any soothing fragrance-free cream can be applied to calm the skin. Keep the area clean and cool. If you have any concerns, message me.
Your areola tattoo is healing. Keep it covered. Keep it clean.
The golden rule of areola aftercare is simple: pigment that dries out is pigment that is lost. Do not let the area dry out or be exposed to air for more than 15 minutes at a time. Keep it clean, moisturised and protected throughout the healing process.
The most important rule: Never pick, peel or touch the healing area. If the skin flakes — let it fall away on its own. Picking removes pigment with it and causes patchy, uneven results.
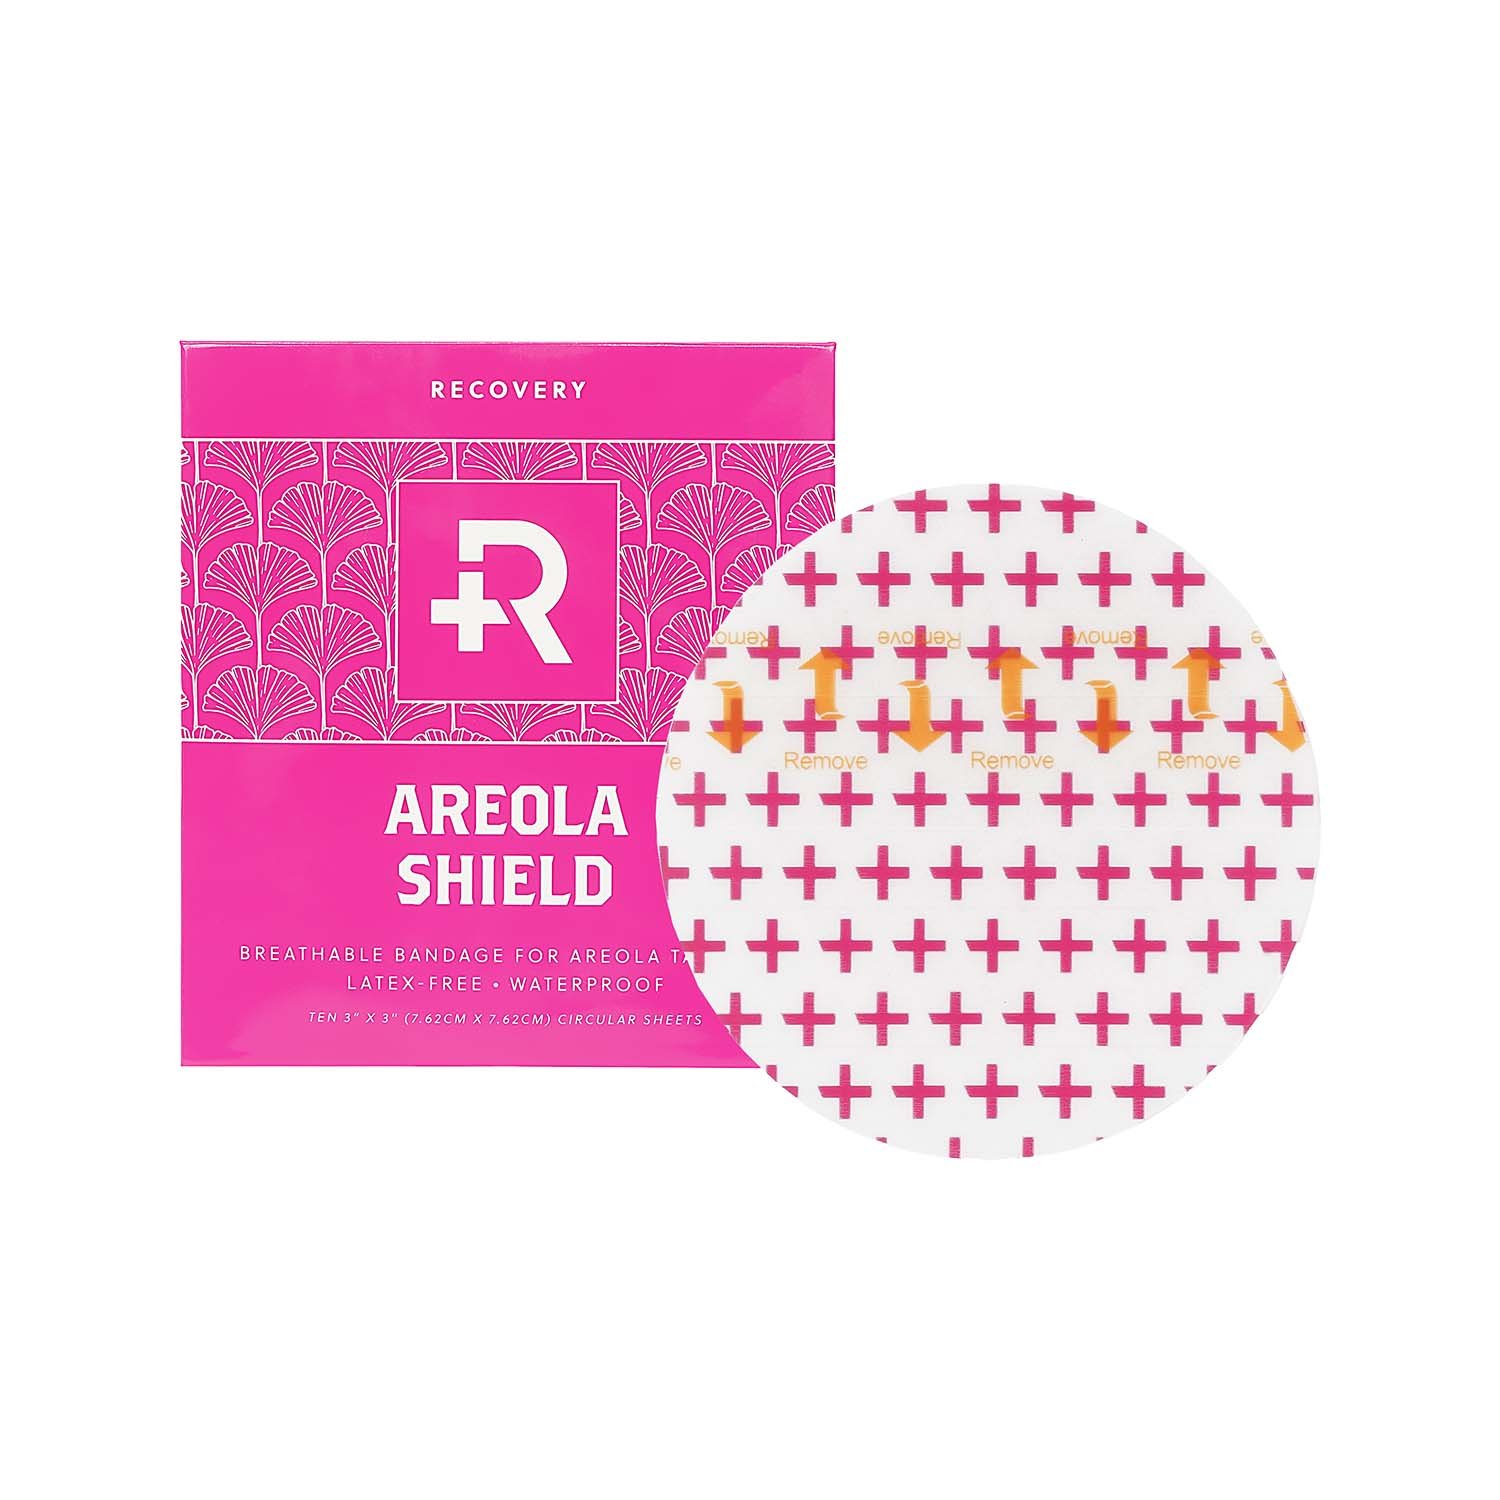
A specialist waterproof plaster designed specifically for post-tattoo nipple healing. Shower-proof. Leave this on for the full 7 days. It keeps moisture in and protects the pigment while it settles. Do not remove early.
On for 7 days- Clean with cooled boiled water morning and night
- Apply balm and cover immediately after cleaning
- Keep covered — no more than 15 minutes of air exposure
- Replace plaster in the shower if fluid builds up
- Remove plaster in shower on day 7
- Continue balm morning and night, Days 7–14
- Message me if anything concerns you
- Picking, touching or rubbing the area
- Swimming, saunas or long baths (14 days)
- Tight or lacy bras directly against the area (14 days)
- Sun exposure on the treated skin
- Skincare or makeup products on the area
- Swimming pools or holidays within 4 weeks
- Letting air get to the tattoo for more than 15 minutes
Some redness immediately after is completely normal. If redness persists beyond 24 hours, or you notice unusual swelling, warmth or discharge — contact me directly or speak to your GP. Do not wait.
Want to know more about this procedure? Read the full guide — everything about 3D nipple tattooing, who it is for, what to expect and real client results. Read the complete guide →
Who is not suitable for treatment
For your safety — please read this carefully before booking.
- Are pregnant or breastfeeding
- Have an active infection, irritation or sunburn in the area
- Have an active cold sore (lip blush)
- Are currently unwell or on antibiotics — wait 7 days after finishing
- Are prone to keloid scarring
- Have a known allergy to pigments or numbing agents
- Uncontrolled diabetes
- Autoimmune condition
- Compromised immune system
- Undergoing chemotherapy or medical treatments
- Taking strong acne medication (e.g. Isotretinoin)
- Taking blood-thinning medication
- Botox or fillers must be done at least 2 weeks before or after your appointment
- Chemical peels, laser or microneedling must be avoided 4 weeks before
- Always inform me of any medical conditions, allergies or medications
Everything you need to know before your appointment
I believe in being completely transparent. Here is everything about how bookings work.
Something doesn’t look right?
Message me directly — I am always here. Healing questions, concerns, photos. You are not on your own with this.
Message on WhatsApp